Your Cart is Empty

I love this design so much and I hope you will too. It’s the design I’ve worn the most – so easy to wear.
Edit to add: I posted this on Craftster, and while some of it is stuff I’ve already written here I thought you might be interested.
I named this design Briar Rose after the grimm brothers’ name for Sleeping Beauty. The shape was inspired both by vintage bedjackets and 40s and 50s silhouettes. A bedjacket inspired design seemed like the perfect thing for Sleeping Beauty to wear and while it certainly isn’t a bedjacket I am wearing it right now sitting on my bed? while typing this.
This started off as an experiment in seamless construction. One of the reasons that I made two was that I wasn’t entirely happy with the shaping of the first (pink one). It looks ok in these pictures but the armholes are really way too deep and this has the annoying effect of making it slip off of my shoulders. I wasn’t so unhappy with it that I wanted to take it off and rip it out, so I bought some yarn on sale and made a second one (the green). This was also a great opportunity to see how changing the yarn can make a big difference to the final look of something. The pink is Noro Cash Iroha – a silk, wool, cashmere blend worsted weight single – as you can see this resulted in a really drapey bolero. The green is Lana Grossa Royal Tweed which is a slightly heavier weight quite sturdy but very soft and fuzzy merino, it produced a much more structured effect so I also changed the border pattern to go with it. I’m probably kidding myself but I like to think that these changes mean people won’t think my wardrobe is full of variations on the same item! Especially as I’ve been wearing one of these most of the time recently.
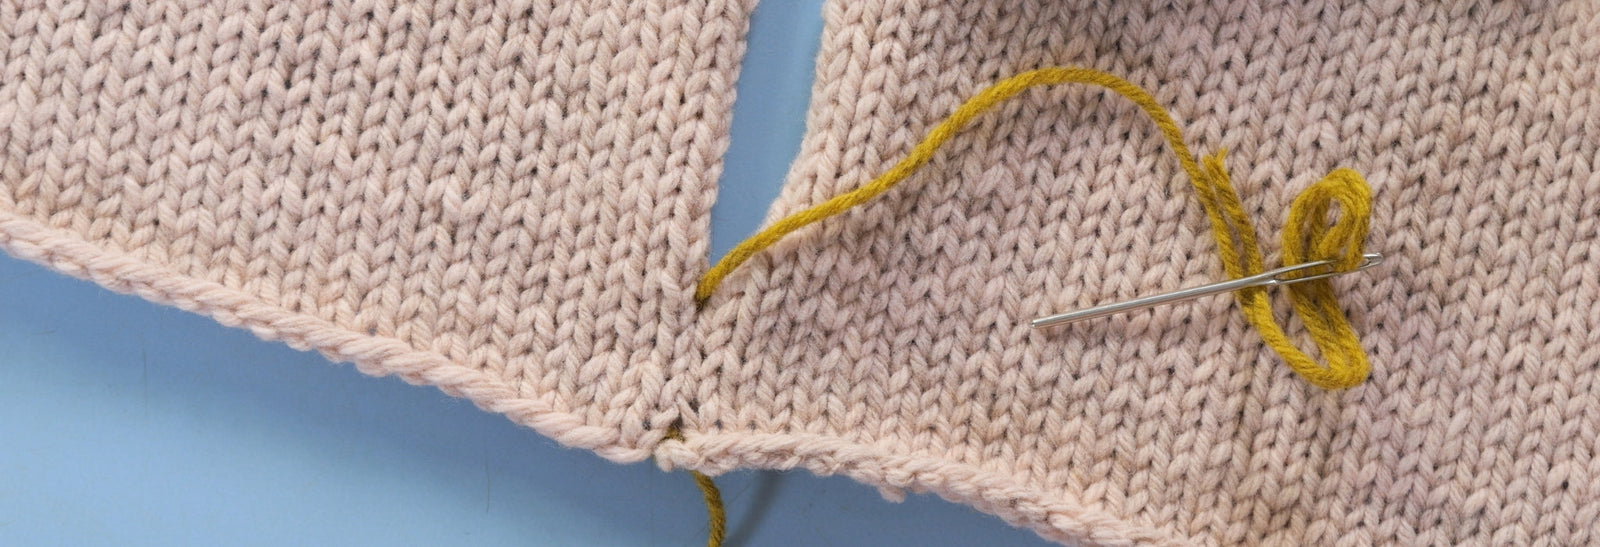
The construction is actually quite simple, but not very easy to explain. Basically I started at the bottom and made a curved hem shaped with short rows. The sleeves were started at the cuffs (with lots of increasing to make them nice and puffy). I joined the sleeves and body at the underarm and knit from there up to the shoulders in one piece – sort of decreasing the body onto the sleeve stitches (that would be the tricky to explain part). At the top of the sleeves I worked lots of decreases over the sleeve stitches to gather in the puffiness and then each shoulder was worked separately, decreasing the shoulder stitches onto the sleeve stitches and then joining the front and back shoulders with a 3 needle bind off. I picked up stitches for the border all the way around the outside edge and to finish it I closed up the holes at the underarms with a 3 needle bind off. Figuring out what to do would have been a lot simpler if I had knit it in pieces, but it wouldn’t have been nearly as fun or satisfying.