Patterns
Kits
sundries
knitting tools, buttons and notions, project bags and other pleasing little things
knitting tools, buttons and notions, project bags and other pleasing little things

Exclusive Scotland needle gauge by Katrinkles

Zippered pouches in two sizes by our studio neighbour Anna Wright

keep small tools accessible with the Maker's Keep
gift 2019
Subscribe to our Colourwork Club for a gift that lasts well into the new year. Your recipient will receive a new colourwork kit in Janurary, February and March

Subscribe to our Colourwork Club for a gift that lasts well into the new year. Your recipient will receive a new colourwork kit in Janurary, February and March


Last minute shopping? Gift cards are delivered electronically - forward the email or print it for your recipient. A range of amounts are available and gift cards don't expire.


Inverleith Kal - Right and Left Lifted Increase Tutorial
July 19, 2019
Welcome to the Inverleith KAL! We're knitting Inverleith, a boxy tee with beautiful drape and a novel construction, between July 15 and September 16, 2019. Jump in anytime and join us on the Ravelry forums for discussion, questions, and chat. Tag your Ravelry project with #inverleithkal to be entered for prize drawing in September!
So you've swatched, chosen a needle size, and a size to make - time to cast on!

Since the first row worked is a purl row on the wrong side (WS), I cast on using the long-tail method. This method produces the equivalent of a backwards loop cast on and a knitted row, so it’s very stable and easy to work into on the first row.

Purl the first row, placing markers. You're now ready to work the first RS row.
Left Lifted Increase (LLI)
The very first increase row is a little bit tricky, so let’s take a look at it together.

Knit the first stitch. You will be working the increase stitch to the left of this knitted stitch - this is a Left Lifted Increase (LLI).

Using your fingers, open the stitch column slightly to identify the row below the one on your needle.

Insert the left needle tip into the purl bump below and behind the stitch just worked, and lift this strand onto the left needle.

The leading edge of the increase should be on the right.

Knit into this stitch normally.

Increase complete. There are 2 stitches before the first marker.
Right Lifted Increase (RRI)

Next we’re going to work an increase into the right side of the next stitch, before working the stitch itself - this is a Right Lifted Increase (RLI).

I’ve taken off the stitch marker just so it’s easier to see. Insert the right needle tip into the right half of the stitch directly below the left needle.

Open this stitch slightly and place this loop onto the left needle.

Knit into this stitch and replace the stitch marker if you've removed it. There should now be 3 stitches before your first marker.
At the end of the row

At the end of the first row, you'll need to work a left increase followed by a right increase before the last stitch. I've removed the marker so it's easier to see.

Insert the left needle tip down into the second purl bump behind the right needle and lift it onto the left needle. Knit this stitch.

The last RRI of the row looks a little odd, but it'll work! Insert the right needle tip into the right side of the stitch below the last stitch.

Place this loop on the left needle.

Knit into this loop.

Knit the last stitch. There are 3 stitches after the last marker.
Right Lifted Increase Purl (RRLP)

On the wrong side, purl to the marker. The first increase is worked before the first marker.

The increase will be worked into the purl bump directly below the left needle.

You can purl directly into the loop if you wish, or lift it onto the left needle with the leading edge on the right.

Purl into this loop and replace the marker if you've removed it.
Left Lifted Increase Purl (LLIP)

Work to the next marker and slip it. The increase will be worked into the second purl bump down from the right needle.

Insert the left needle tip into the purl bump from below and lift it onto the needle.

Purl into this loop.

Complete left lifted increase on the purl side.

If video suits you better, Ysolda has recorded a video illustrating these increases. You may well find watching the video and then looking at the still photos works best for you.
lifted increases from Ysolda Teague on Vimeo.
Next time - dividing the sleeves.
Don't forget to join us on the Ravelry forums and tag your Ravelry project with #inverleithkal to be entered for prize drawing in September!
Also in Journal

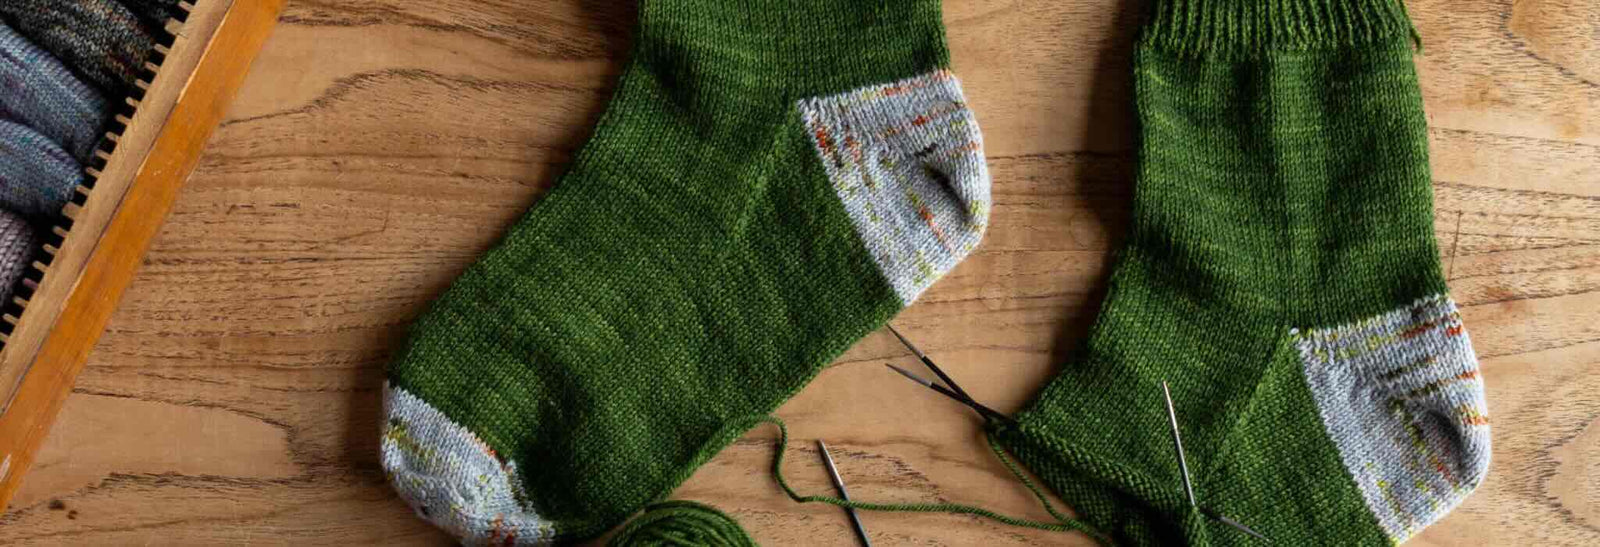
Deep Shadow Heel Tutorial
September 25, 2025

20 Years of Ysolda Knitting Patterns: Part 2
June 23, 2025

20 Years of Ysolda Knitting Patterns: Part 1
June 19, 2025
Recent Articles
-
Deep Shadow Heel Tutorial
September 25, 2025
-
20 Years of Ysolda Knitting Patterns: Part 2
June 23, 2025
-
20 Years of Ysolda Knitting Patterns: Part 1
June 19, 2025
-
Learn to Knit: Mattress Stitch
March 29, 2023
-
How to Knit a Scarf: A Beginners Guide to Scarf Knitting
March 23, 2023
-
Learn to knit: the long tail cast-on
February 03, 2022
-
How to Graft Your Knitting
December 09, 2021
-
Crochet Provisional Cast-on
December 02, 2021
-
Learn to knit: How to knit in the round with double pointed needles
November 25, 2021
-
Learn to knit: How to knit in the round using the magic loop technique
November 25, 2021
Free resources
-
KALS, step-by-step pattern guides and free patterns
Learn brioche with the free Daniel's Hat pattern
Tombreck - a free chevron beanie pattern
Working the brioche neck detail on the Polwarth sweater
Installing a zipper and ribbon, finishing wee Carson
Yarn colour ideas for Threipmuir sweater
Additional colourways for the Joy mitts (choose your pride flag)
How to join the shoulders on Wardie
How to join the pockets on Granton and Wardie
Finishing Resources for Granton
Broughton mittens tutorial part 1
Broughton mittens tutorial part 2
Broughton mittens tutorial part 3
Basics
Casting on
Decorative Channel Island Cast-on
Binding off
3 Easy Stretchy Bind-offs (p2tog bind-off; k2togtbl, k1 bind-off; Jeny's surprisingly stretchy bind-off)
Tubular Bind-off for brioche stitch
Increasing
Paired increase methods compared
How to continue in pattern while increasing and decreasing
Decreasing
Brioche stitch double decreases
Knitting in the round
How to Knit in the round using Magic Loop
How to Knit in the round using DPNs
Short rows
Swatching and gauge
Tips and tricks
Avoiding ears when binding off
Tighter purl stitches for neater cables and ribbing
Cabling without a cable needle
How to knit more symmetrical yarn overs
Bust darts in sweaters with all over stitch patterns
A magic formula for evenly distributing shaping
Superwash v Non-Superwash Wool
Picking up sts from the middle of the fabric
Reading knitting patterns
Understanding "continue in pattern"
Help! Where am I in my knitting project?
Using charts, even if you hate them
Finishing
Garment knitting
Joining the body and sleeves on a seamless bottom up sweater
Sizing
Ysolda’s sizing chart for knitwear designers
Inclusive garment knitting
How to pick a garment without a model for you (specifically addresses finding garment patterns when your gender identity isn't represented and the styles you want to knit might not be sized to fit your body)
How does ease affect inclusive size ranges?
Specific stitch patterns
Lace
Identifying and fixing mistakes in lace knitting
Colourwork
Getting started with stranded colourwork
Understanding colour dominance
Working stranded colourwork over small circumferences
Decreases in stranded colourwork
Holding the yarn for stranded colourwork
Ladderback Jacquard (a neat way to deal with long floats)
Cables
Cabling without a cable needle
Cabling without a cable needle on the wrong side
How to knit cabled decreases
Closed ring cable increases and decreasesBrioche
How to work brioche stitch in the round
Other crafts
Cross stitch
How to begin your first large cross stitch project
How to finish a cross stitch project with an embroidery hoop frame
Mending

Sign up today
Find out the latest news from the studio such as sales, pattern releases, and new workshops or KALs our learning community, The Knitwork. We also share helpful tips and exclusive subscriber discounts...


