


Kits


New! Celebrate this chapter of Ysolda.com as it comes to an end with a special, personalised bundle of our best products, hand-picked by our team just for you.


gift 2019


Subscribe to our Colourwork Club for a gift that lasts well into the new year. Your recipient will receive a new colourwork kit in Janurary, February and March
Last minute shopping? Gift cards are delivered electronically - forward the email or print it for your recipient. A range of amounts are available and gift cards don't expire.

How to knit a garter tab cast-on
How to knit a garter tab cast-on

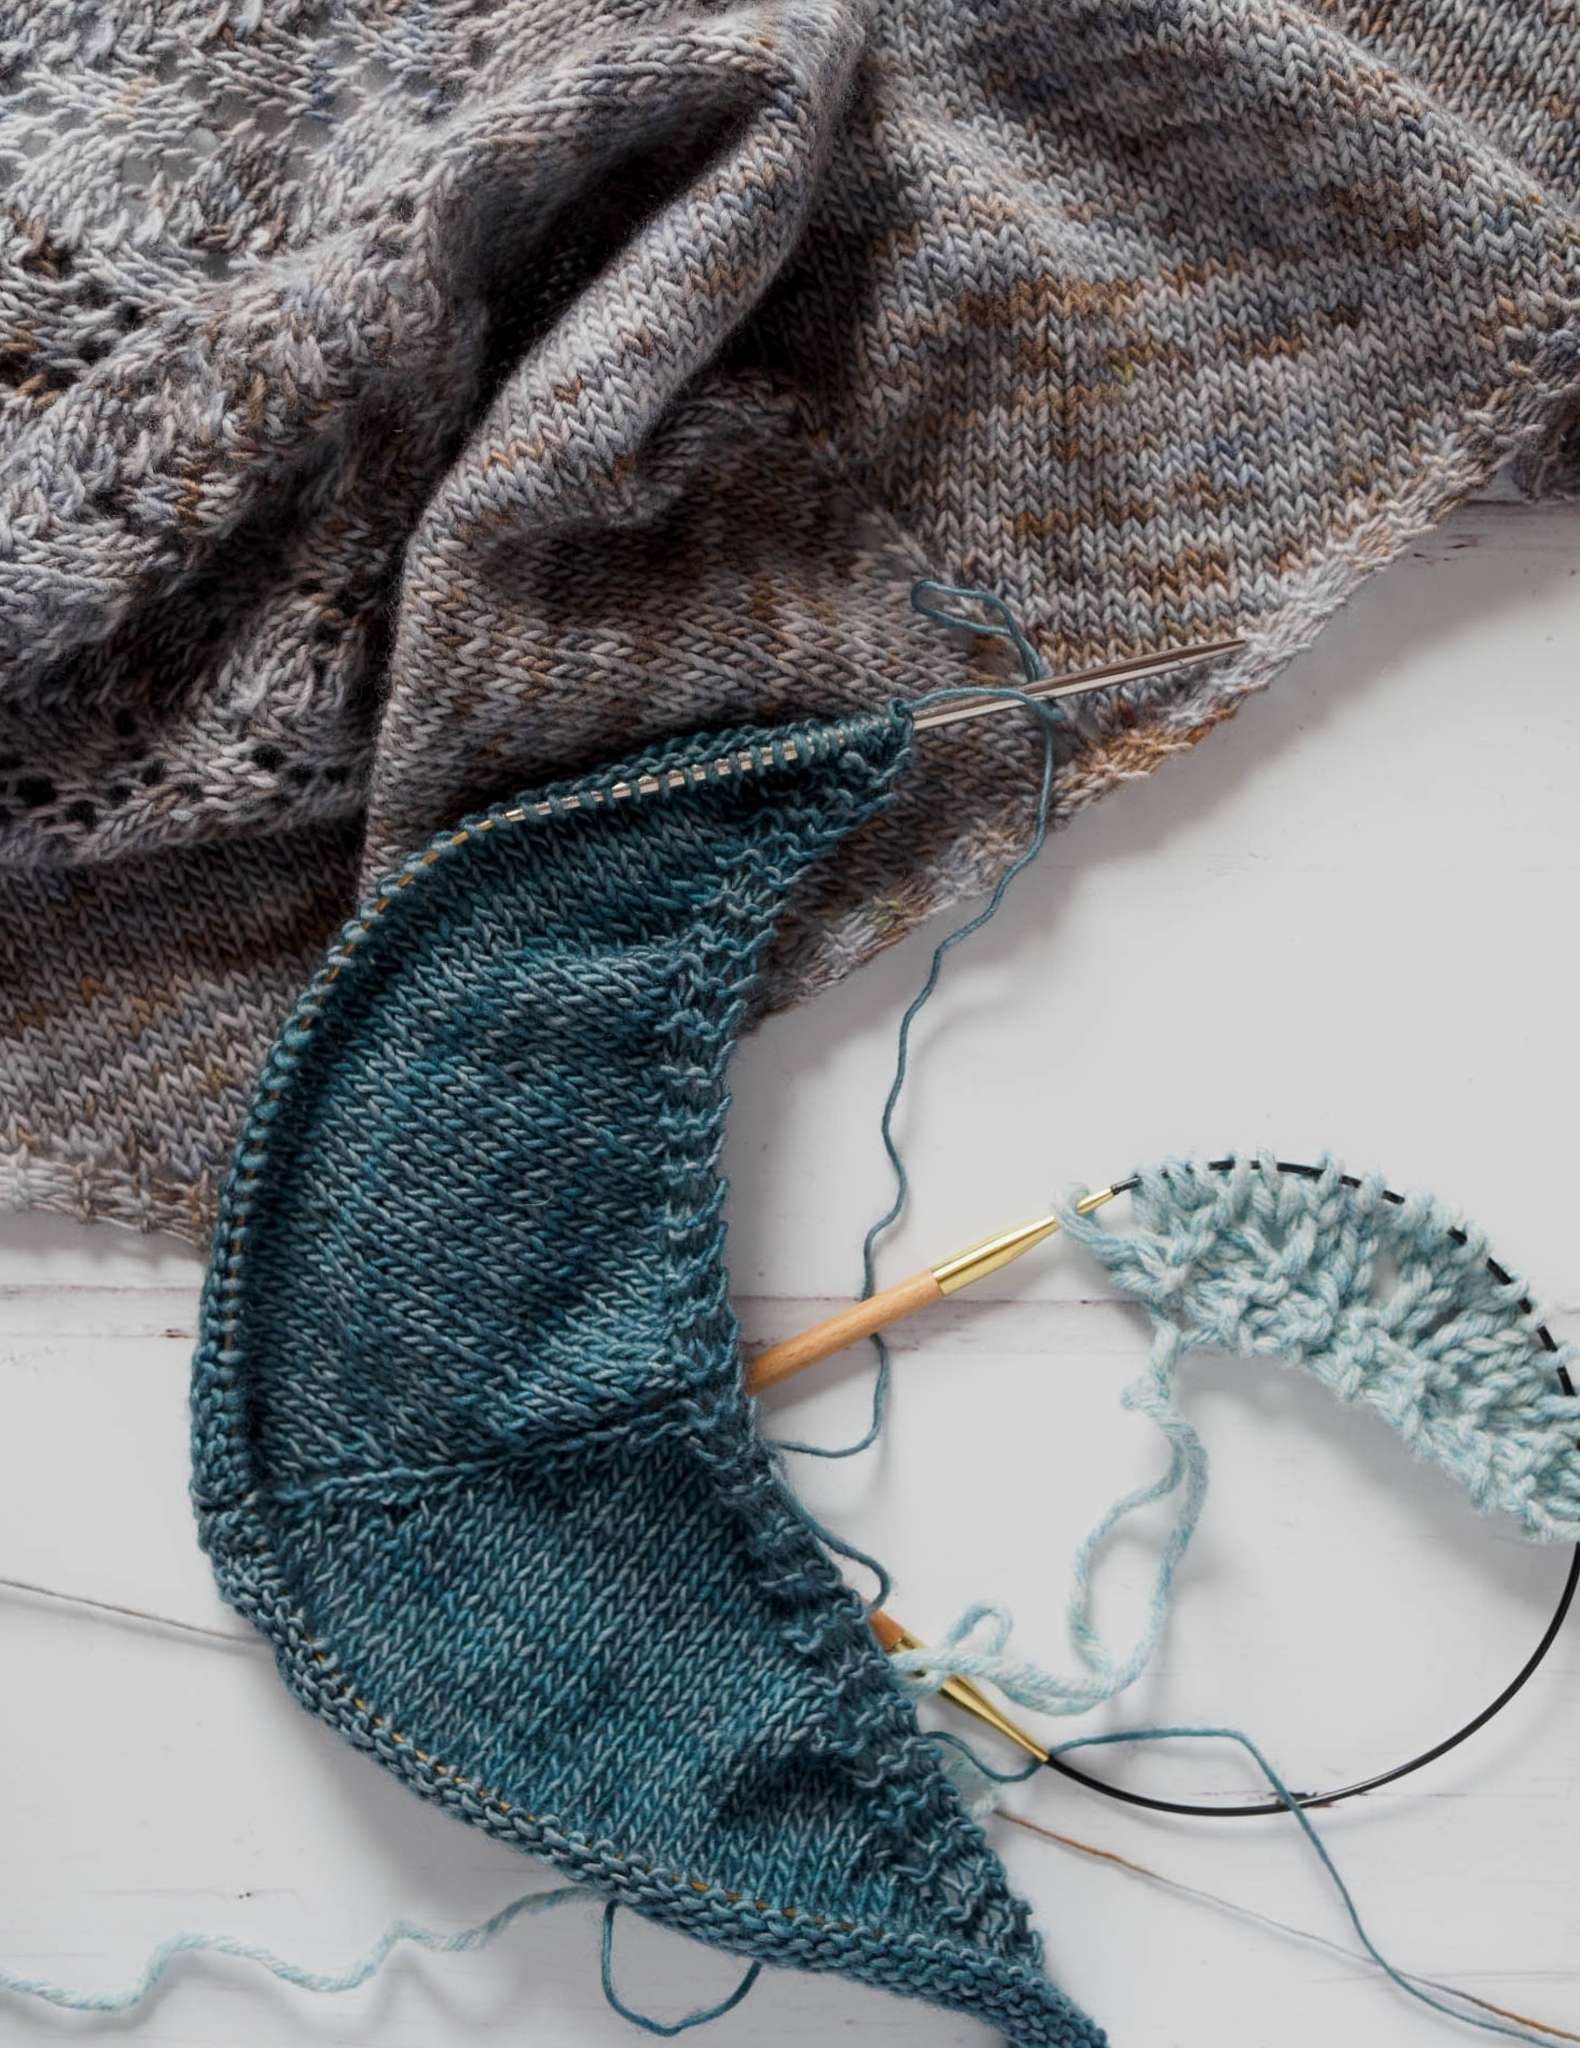
Have you ever started knitting a top-down shawl and been stymied by a “garter tab” cast-on?
Cast on, knit, rotate, pick up stitches - a garter tab is a fiddly bit of knitting that is commonly used to begin top-down triangular shawls, as well as various other shawl and wrap shapes.
The garter tab cast-on is used to seamlessly join the border stitches at the centre back, and, at the same time, cast-on the initial centre stitches which will then be increased to shape the shawl.
To work a garter tab, you will cast on a small number of stitches (3 or 4), and knit a short rectangular strip. Then you will pick up stitches along one long edge and one short edge, converting the rectangle into half-circle shape that will flow more easily into the triangular shaping. Check out our step-by-step tutorial below to learn how to knit a garter tab.
Garter Tab Cast-On
Video
Garter tab cast-on step-by-step directions

To begin, cast on 3 stitches. Here we used the cable cast-on method, so that the first row is a right side row.

Then knit 6 rows, turning at the end of each row, to create the garter tab.

On the next row, we will pick up stitches around two sides of this tab. First knit across the 3 stitches.

Then, slide the stitches on the right needle tip down onto the cord. The arrows indicate where we'll be picking up stitches along the side of the tab.

With the first three stitches now on the cord, rotate the work 90 degrees clockwise and insert the right needle tip into the side edge of the first garter ridge.

Wrap the yarn and pull up a stitch.

Continuing in the same direction, pick up 1 stitch from each garter ridge creating 3 stitches.

Push these new pick-up stitches down onto the cord as well. This makes 6 stitches total.

Rotate the work 90 degrees clockwise again. Now we'll be picking up stitches from the 3 cast-on stitches.

It can look a little crowded here but take your time to open up the stitches so you can see where to pick up.

Pick up 1 stitch from each cast on stitch. 3 stitches.

The garter tab cast-on is complete! There are now 9 stitches on the needle.
The garter tab cast-on can be fiddly at first, but don’t give up! If something seems off, it’s perfectly fine to gently rip out the stitches you have worked and try again.

You might find that your stitches are very slippery, and if this is the case you can try a different type of knitting needle, such as a wooden one, until your stitches are established.
Once you’ve worked a garter tab a few times, it’ll become second nature, so don't give up!
Try out the garter tab cast-on with our shawl patterns Ishbel, Halimede or Stac Shoaigh!
Also in Journal


Ysolda’s size chart for knitwear designers
Inclusive size charts for sizes xxs to 7xl, created by a knitwear designer and featuring measurements that can be difficult to find. Newly updated with an extended size range with measurements for cup sizing and broad shoulders.
Read More


Deep Shadow Heel Tutorial
The Deep Shadow sock heel is a beginner friendly short row sock heel that provides a more anatomical fit like a heel flap and gusset.
Read More


20 Years of Ysolda Knitting Patterns: Part 2
June 2025 marks twenty years of designing knitting patterns for Ysolda. In this blog post she picks her favourite from each year for 2015 to 2025,
Read More
