Patterns
Kits
sundries
knitting tools, buttons and notions, project bags and other pleasing little things
knitting tools, buttons and notions, project bags and other pleasing little things

Exclusive Scotland needle gauge by Katrinkles

Zippered pouches in two sizes by our studio neighbour Anna Wright

keep small tools accessible with the Maker's Keep
gift 2019
Subscribe to our Colourwork Club for a gift that lasts well into the new year. Your recipient will receive a new colourwork kit in Janurary, February and March

Subscribe to our Colourwork Club for a gift that lasts well into the new year. Your recipient will receive a new colourwork kit in Janurary, February and March


Last minute shopping? Gift cards are delivered electronically - forward the email or print it for your recipient. A range of amounts are available and gift cards don't expire.


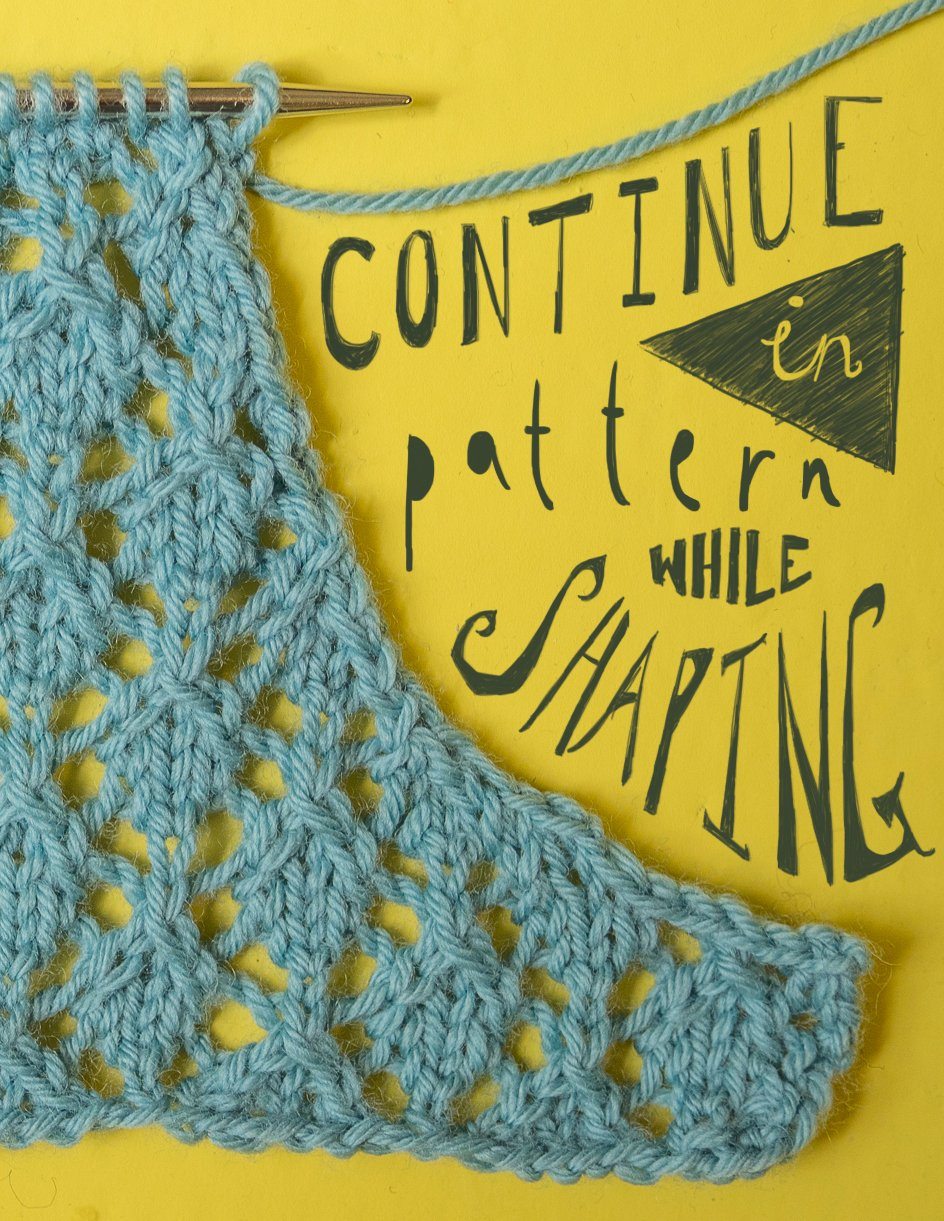
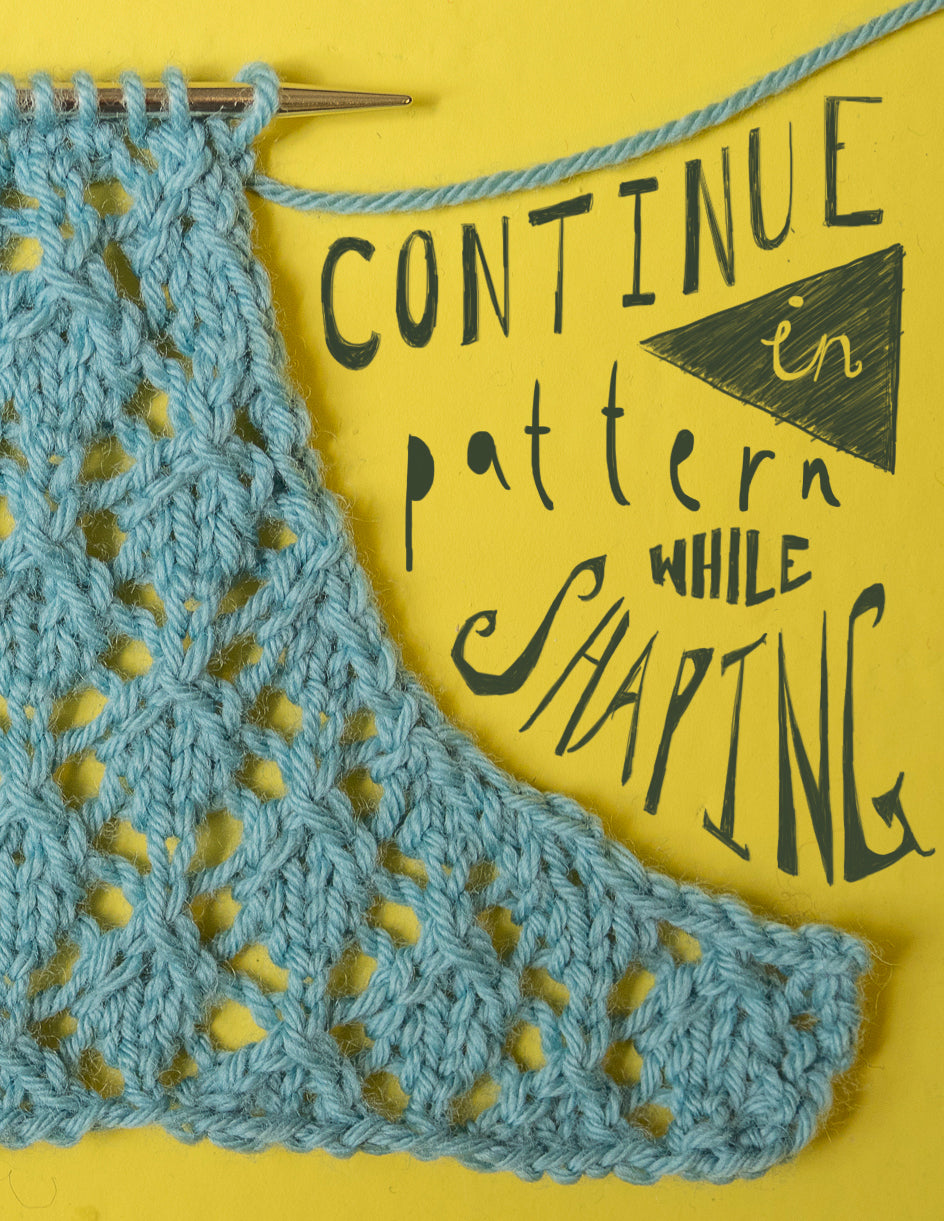
How to continue in pattern while increasing and decreasing
May 15, 2014
Does that phrase put you off a pattern completely? Make you nervous about whether you’re really doing it right? If it does, you’re not alone! When writing patterns I try to give specific directions for every detail, but sometimes the cleanest, most legible option is to establish a stitch pattern and leave it up to the knitter to keep it going.
I find it helpful to think of allover patterns as a piece of decorated fabric or paper that I’m cutting into with my shaping. Everything should line up vertically with the fabric in the middle, not necessarily with what the stitch below the increase or decrease used to be.
A very simple example
If I was working seed stitch and had a purl at the beginning of the row if I decreased right at the beginning my first stitch would then be a knit to maintain the pattern. Decrease again and that first stitch would switch back a knit. It doesn’t matter what the first stitch has been before, it matters what is next to it in the pattern.
Shaping in lace patterns
Let’s look at a fairly simple allover diamond pattern. We can tell from this chart that the pattern has the same number of stitches on every row (see this post if you’re unfamiliar with charts), which means that every yarn over is compensated for by a decreased stitch.
When shaping that is the crucial thing to remember — unless you want to decrease a stitch for your shaping, every yarn over must be compensated for. If there aren’t enough stitches for both the yarn over and the decrease don’t work either of them. Work those stitches in your ground pattern (usually stockinette but possible reverse stockinette, garter, seed etc).

How would we maintain this pattern while shaping something like an armhole?

These are the stitches that might be affected by the bite taken out of the fabric.

Rule 1: every yarn over must be compensated for.
Rule 2: no yarn overs or decreases right on the edge (another way to say this would be that I want a selvedge stitch to make seaming easier — your pattern might specify that this should be two stitches wide).
Rule 3: all shaping decreases should be worked 1 stitch in from the edge and should lean in the same direction.
After going through each potential trouble spot identified above the chart looks like this.

And in real life it looks like this:

It certainly isn’t necessary to chart out a pattern like this, but if you’re struggling to visualise how to shape your pattern it can be very helpful to plan ahead. You may find that especially useful when increasing since you’ll have less of the established pattern on the needles to guide you.
Decreasing almost invisibly in colourwork

In most stitch patterns whether to lean increases and decreases towards or away from the edge being shaped is simply an aesthetic choice. See this earlier Technique Thursday post for examples.
In stranded colourwork leaning decreases towards the edge being shaped and making sure to work them in the colour that matches the established pattern for that stitch will make them blend in almost imperceptibly. Sweet.

Also in Journal

Deep Shadow Heel Tutorial
September 25, 2025

20 Years of Ysolda Knitting Patterns: Part 2
June 23, 2025

20 Years of Ysolda Knitting Patterns: Part 1
June 19, 2025
Recent Articles
-
Deep Shadow Heel Tutorial
September 25, 2025
-
20 Years of Ysolda Knitting Patterns: Part 2
June 23, 2025
-
20 Years of Ysolda Knitting Patterns: Part 1
June 19, 2025
-
Learn to Knit: Mattress Stitch
March 29, 2023
-
How to Knit a Scarf: A Beginners Guide to Scarf Knitting
March 23, 2023
-
Learn to knit: the long tail cast-on
February 03, 2022
-
How to Graft Your Knitting
December 09, 2021
-
Crochet Provisional Cast-on
December 02, 2021
-
Learn to knit: How to knit in the round with double pointed needles
November 25, 2021
-
Learn to knit: How to knit in the round using the magic loop technique
November 25, 2021
Free resources
-
KALS, step-by-step pattern guides and free patterns
Learn brioche with the free Daniel's Hat pattern
Tombreck - a free chevron beanie pattern
Working the brioche neck detail on the Polwarth sweater
Installing a zipper and ribbon, finishing wee Carson
Yarn colour ideas for Threipmuir sweater
Additional colourways for the Joy mitts (choose your pride flag)
How to join the shoulders on Wardie
How to join the pockets on Granton and Wardie
Finishing Resources for Granton
Broughton mittens tutorial part 1
Broughton mittens tutorial part 2
Broughton mittens tutorial part 3
Basics
Casting on
Decorative Channel Island Cast-on
Binding off
3 Easy Stretchy Bind-offs (p2tog bind-off; k2togtbl, k1 bind-off; Jeny's surprisingly stretchy bind-off)
Tubular Bind-off for brioche stitch
Increasing
Paired increase methods compared
How to continue in pattern while increasing and decreasing
Decreasing
Brioche stitch double decreases
Knitting in the round
How to Knit in the round using Magic Loop
How to Knit in the round using DPNs
Short rows
Swatching and gauge
Tips and tricks
Avoiding ears when binding off
Tighter purl stitches for neater cables and ribbing
Cabling without a cable needle
How to knit more symmetrical yarn overs
Bust darts in sweaters with all over stitch patterns
A magic formula for evenly distributing shaping
Superwash v Non-Superwash Wool
Picking up sts from the middle of the fabric
Reading knitting patterns
Understanding "continue in pattern"
Help! Where am I in my knitting project?
Using charts, even if you hate them
Finishing
Garment knitting
Joining the body and sleeves on a seamless bottom up sweater
Sizing
Ysolda’s sizing chart for knitwear designers
Inclusive garment knitting
How to pick a garment without a model for you (specifically addresses finding garment patterns when your gender identity isn't represented and the styles you want to knit might not be sized to fit your body)
How does ease affect inclusive size ranges?
Specific stitch patterns
Lace
Identifying and fixing mistakes in lace knitting
Colourwork
Getting started with stranded colourwork
Understanding colour dominance
Working stranded colourwork over small circumferences
Decreases in stranded colourwork
Holding the yarn for stranded colourwork
Ladderback Jacquard (a neat way to deal with long floats)
Cables
Cabling without a cable needle
Cabling without a cable needle on the wrong side
How to knit cabled decreases
Closed ring cable increases and decreasesBrioche
How to work brioche stitch in the round
Other crafts
Cross stitch
How to begin your first large cross stitch project
How to finish a cross stitch project with an embroidery hoop frame
Mending

Sign up today
Find out the latest news from the studio such as sales, pattern releases, and new workshops or KALs our learning community, The Knitwork. We also share helpful tips and exclusive subscriber discounts...


