


Kits


New! Celebrate this chapter of Ysolda.com as it comes to an end with a special, personalised bundle of our best products, hand-picked by our team just for you.


gift 2019


Subscribe to our Colourwork Club for a gift that lasts well into the new year. Your recipient will receive a new colourwork kit in Janurary, February and March
Last minute shopping? Gift cards are delivered electronically - forward the email or print it for your recipient. A range of amounts are available and gift cards don't expire.
How to Begin Your First Large Cross Stitch Project
How to Begin Your First Large Cross Stitch Project

Cross stitching a project as large as the new Knitter Cross Stitch pattern can feel intimidating. In order to help quell your fears, Zoe, the maker behind Junebug and Darlin, has put together some tips and tricks to help you set up your next cross stitch project.

When beginning a larger cross stitch project, one of the hardest things can be actually starting. How should I prepare my fabric? What color should I start with? Where should I begin stitching?
All of these questions are great AND at some point, you'll have to jump in. Here's how.
To begin cross stitching, you'll follow the instructions to find the center of your pattern and the corresponding center of your fabric. In order to get to the 'jump in' part, I like to take the time to make a grid on my aida fabric that matches the grid on my pattern. This process will help you both get familiar with your cross stitch pattern as well as set up some guidelines for the entirety of the cross stitch project.

There are two main ways to set up the grid on your cross stitch fabric. One is with a water-soluble marker, I use the DMC brand you can order from my website, and the other way is to temporarily stitch a grid with embroidery floss.

Option 1:
Using a water-soluble marker, take the time to mark the grid of your pattern onto the fabric. Use the marker to make a dot on every tenth hole, corresponding to where the bold gridlines on the pattern intersect. The hole is the point of intersection.
Mark as much or as little of your fabric as you'd like to get started. This process takes time, but the more markings you add, the easier it will be to finish your large cross stitch project.

It can be helpful to mark off the dots on your paper pattern if you're not going to transfer all of them.

Once all of your stitching is completed, you'll be instructed in your cross stitch pattern to wash the fabric. At that point, the markings will also wash off, and your large cross stitch project will be ready for framing. You can find instructions for framing your project with a hoop here or here and in your instruction booklet.
If you make a mistake while counting, spritz some water onto your fabric at the 'mismade' marking and continue on. Wait for you fabric to dry before marking in the correct spot.

Option 2:
Your cross stitch pattern is divided into 4 equal quadrants. Make a quick guide with thread that follows those quadrants for easy reference while stitching.
This is a great option if you plan to stitch your project one quadrant at a time, instead of one color at a time across the whole pattern.
These thread lines are similar to making a 'running stitch' or 'basting stitch' when sewing. There is no need to be consistent here - you're simply dividing the fabric into the 4 sections matching your pattern.
Cut a long piece of thread, about 18" / 46cm, so that it's longer than your Aida cloth. Use a single strand of floss, begin at one end of the Aida and stitch continuously to the other end. Now turn the fabric and stitch the perpendicular line. I like to make sure I cross threads directly in the middle of my cloth so I get a clear center marking.

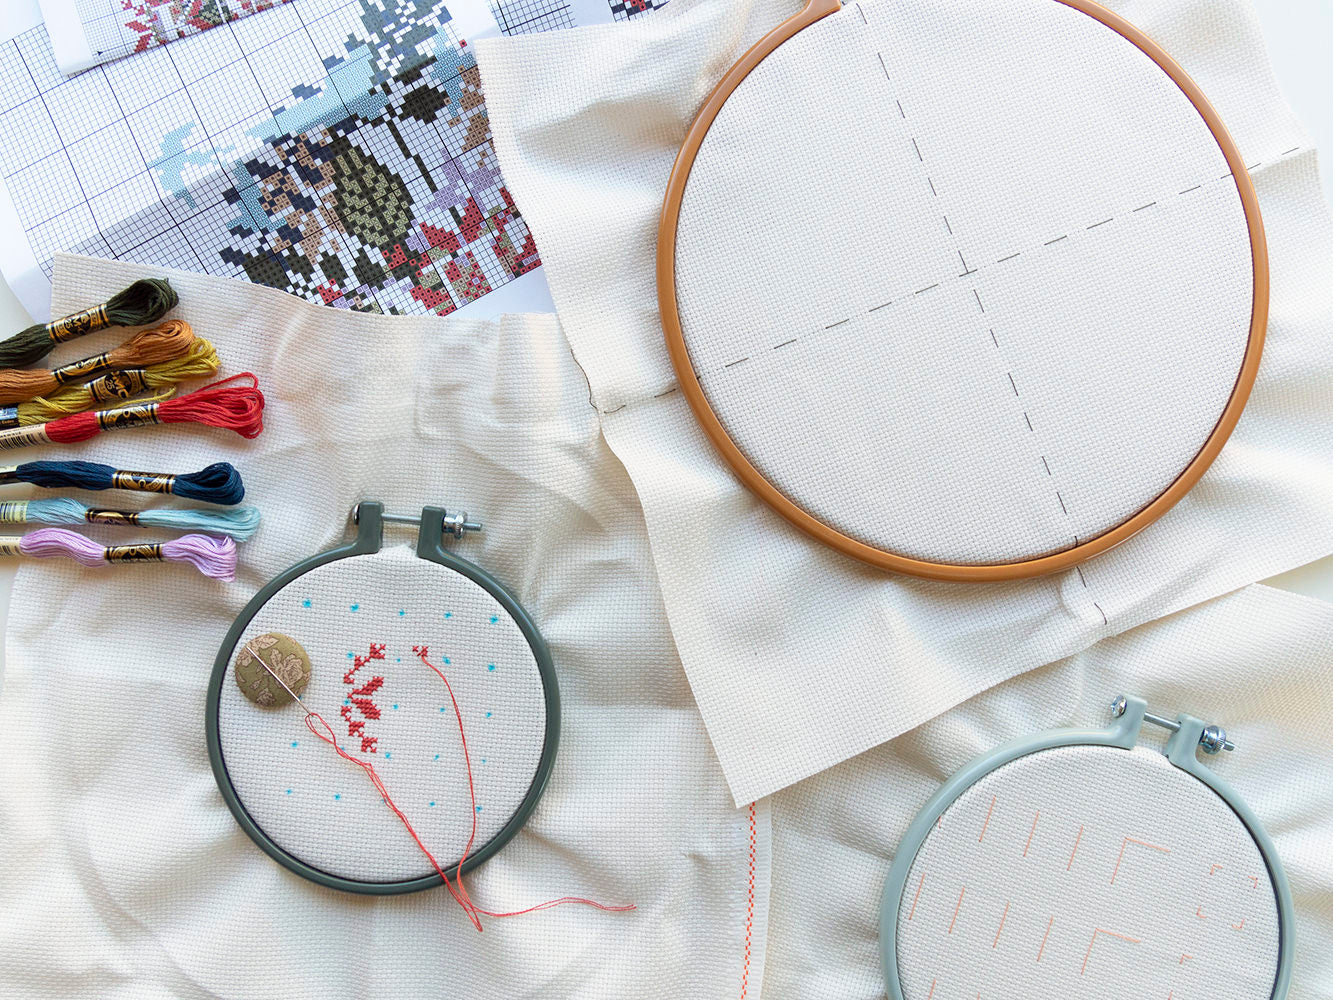
Option 3:
This is where you can get really creative. The whole point of marking the grid onto your fabric, is to give yourself the ease of counting to make sure you're stitching in the right spots. How you do that is up to you!
Shown in the photo above from left to right:- using long strides of floss, count 10 squares (matching the grid on your pattern) to mark a vertical grid
- in addition to a vertical grid, try adding some horizontal markings in the same 10x10 pattern
- OR, instead of using long swaths of thread on the front, mark only the corners of the grid. HOT TIP: Make sure if marking just the corners, stitch all the vertical markings first, then with new thread pieces, come back and make the horizontal lines. This will make pulling out the thread in the end MUCH easier.
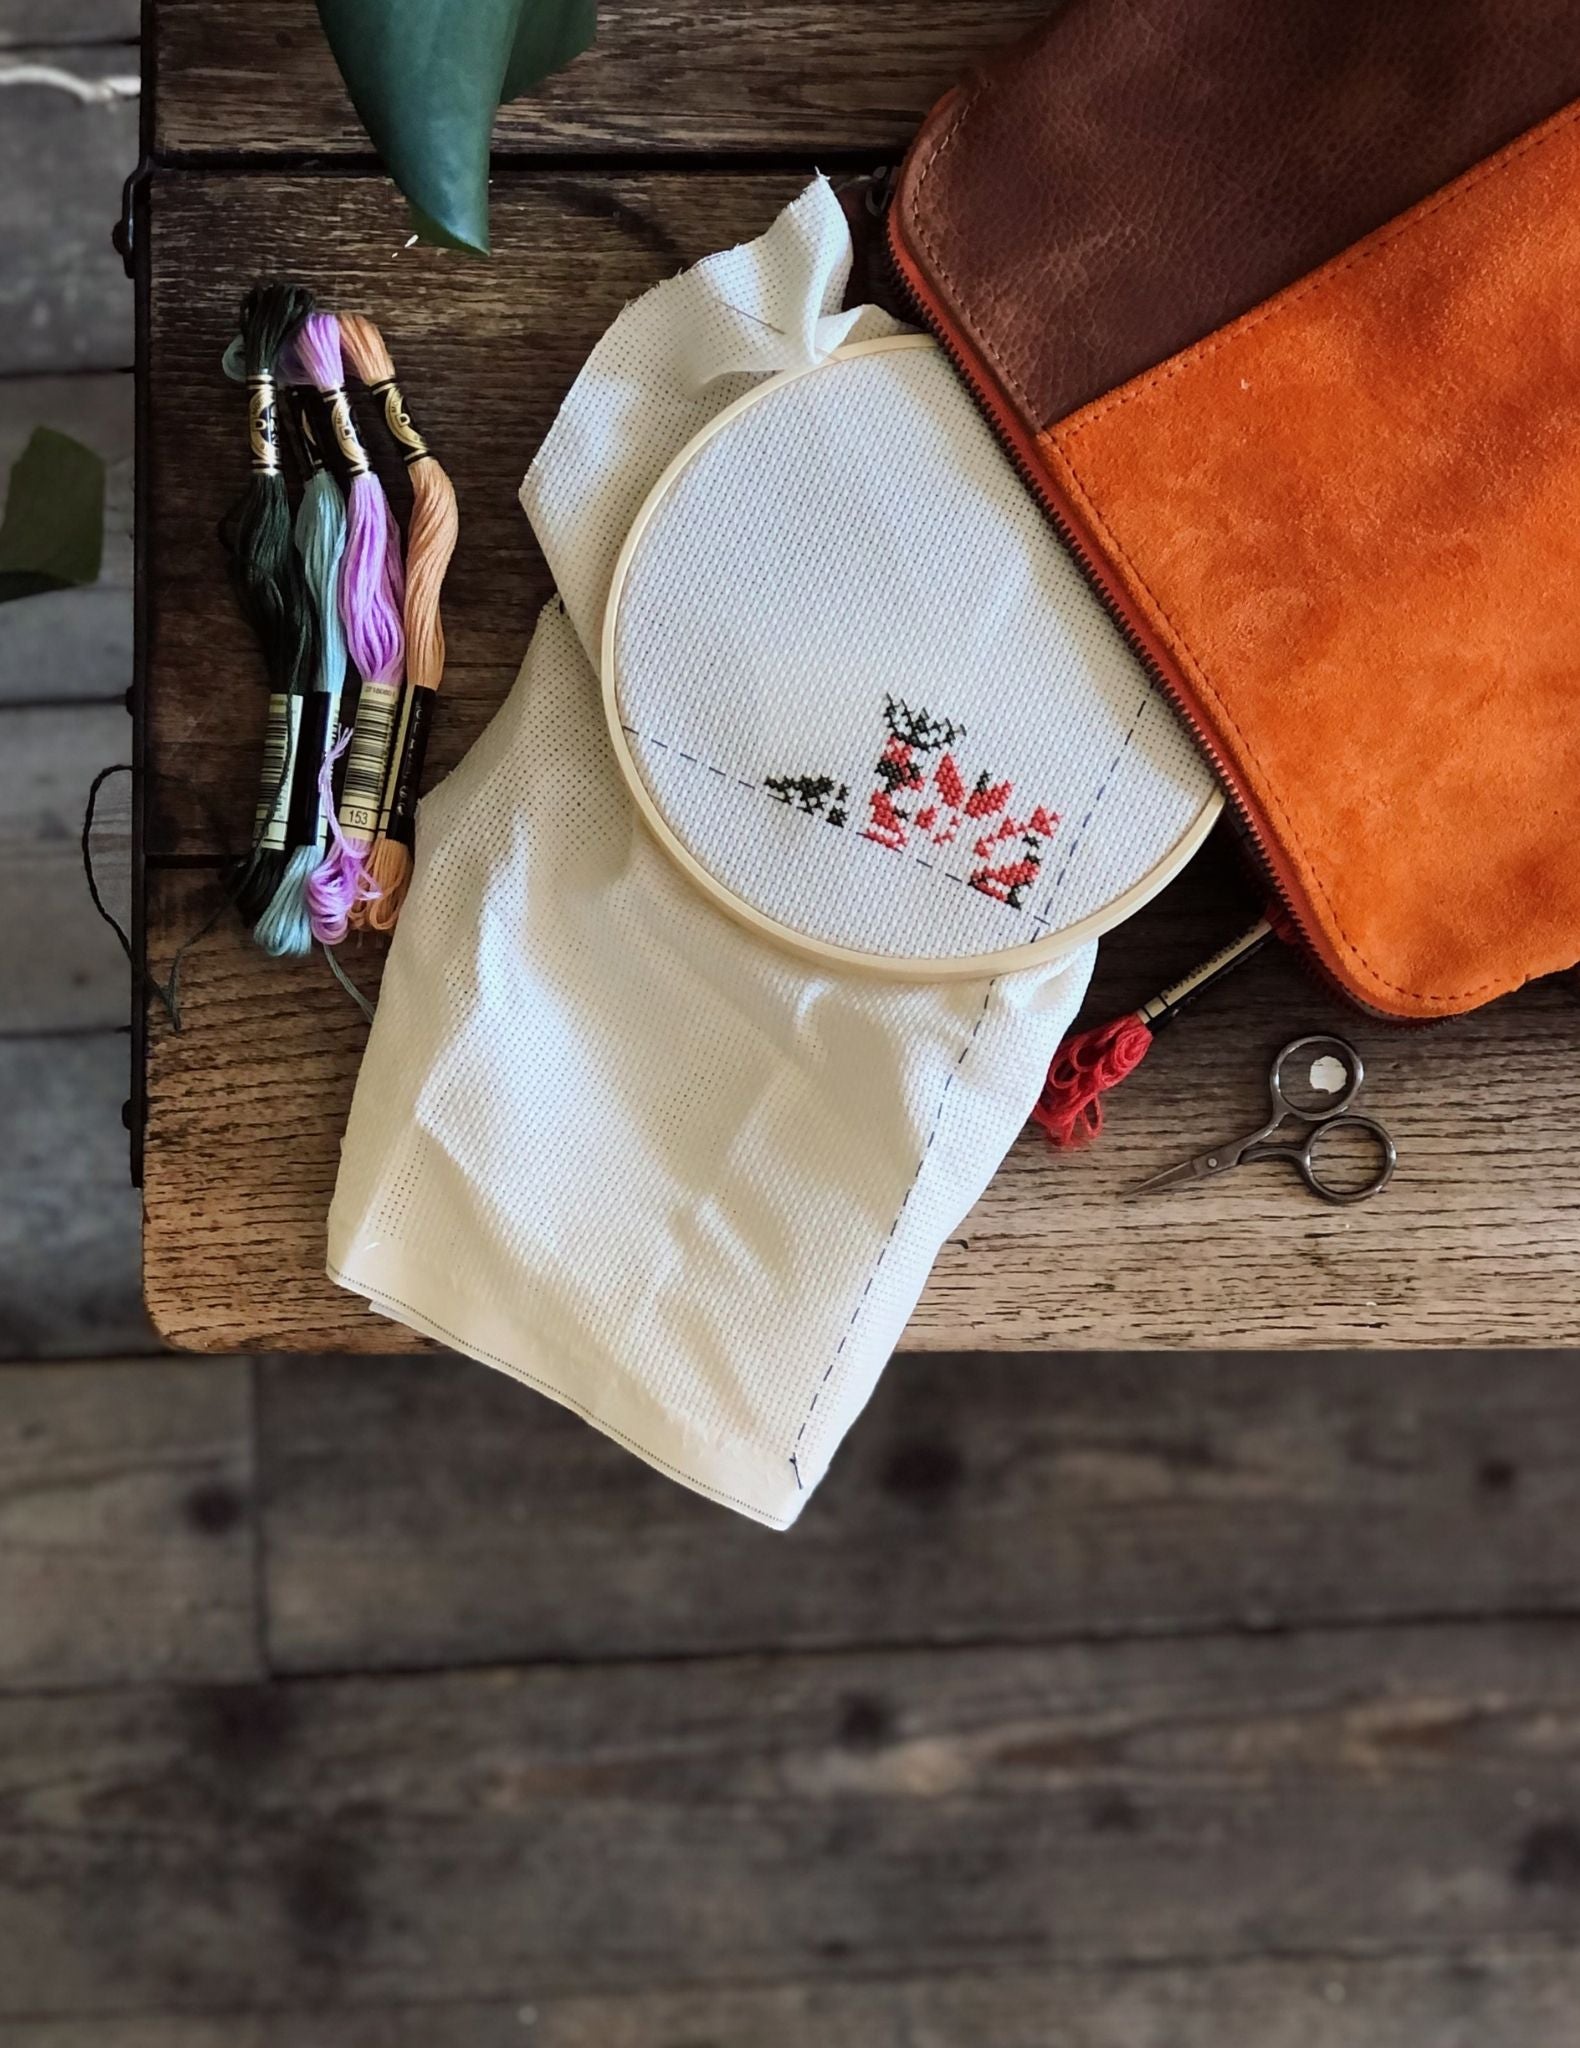
If you've chosen to use thread, keep the threads on your cloth as long as they're useful. This could be throughout the whole project, or after you've stitched a majority of your project. When you're ready, simply pull from the edge of the cloth to remove the single strands. If the string gets stuck, take your scissors and snip the floss into smaller sections from the back. Be careful not to snip your actual cross stitches.

Now that your Aida has a matching grid to your pattern, you can really begin anywhere! I always advise starting towards the center no matter what. Choose to stitch one color at a time, one section at a time, or whatever makes sense for you when reading the pattern. Have fun and set yourself up for success.
Also in Journal


Ysolda’s size chart for knitwear designers
Inclusive size charts for sizes xxs to 7xl, created by a knitwear designer and featuring measurements that can be difficult to find. Newly updated with an extended size range with measurements for cup sizing and broad shoulders.
Read More


Deep Shadow Heel Tutorial
The Deep Shadow sock heel is a beginner friendly short row sock heel that provides a more anatomical fit like a heel flap and gusset.
Read More


20 Years of Ysolda Knitting Patterns: Part 2
June 2025 marks twenty years of designing knitting patterns for Ysolda. In this blog post she picks her favourite from each year for 2015 to 2025,
Read More
