


Kits


New! Celebrate this chapter of Ysolda.com as it comes to an end with a special, personalised bundle of our best products, hand-picked by our team just for you.


gift 2019


Subscribe to our Colourwork Club for a gift that lasts well into the new year. Your recipient will receive a new colourwork kit in Janurary, February and March
Last minute shopping? Gift cards are delivered electronically - forward the email or print it for your recipient. A range of amounts are available and gift cards don't expire.

Three ways to hold yarn for stranded colourwork
Three ways to hold yarn for stranded colourwork
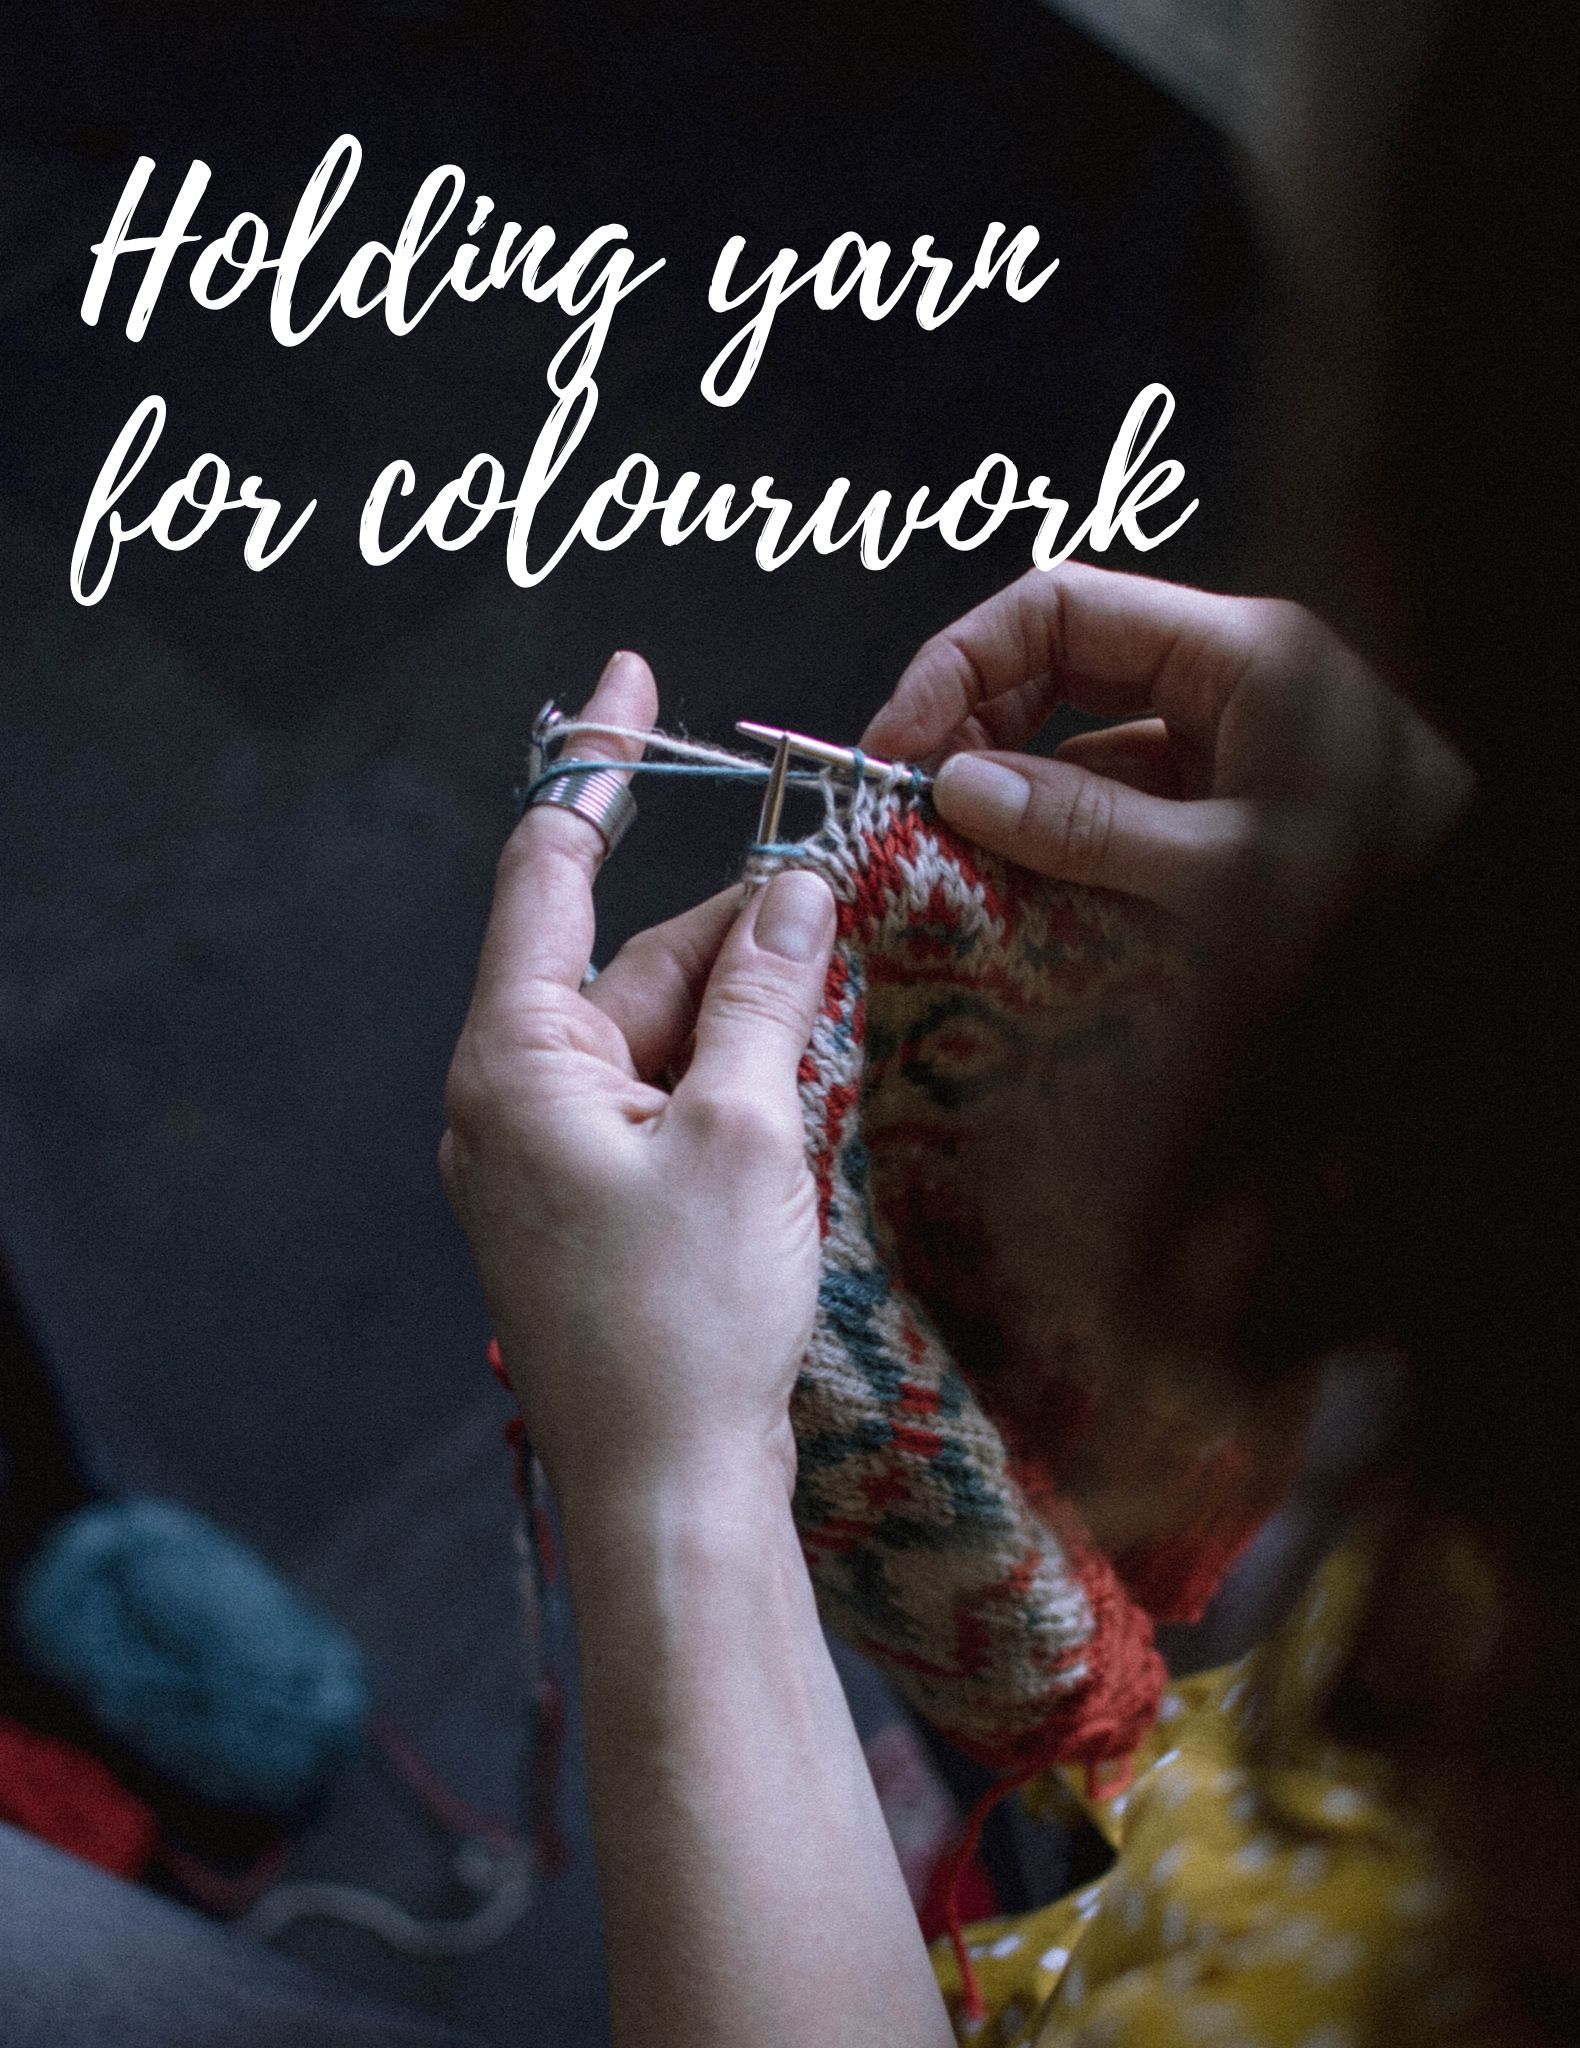

To go along with our new Colourwork Club accessory patterns, we’ve put together a series of blog posts to walk you through your first stranded colourwork project, along with tips and tricks perfect for all levels of experience.

The basic idea is simple: knit each stitch in the correct colour according to the pattern, carrying the unused colour behind and across the back of the work. When you have several stitches worked in one colour, the unused strand “floats” across the back of the work. Colourwork fabric is generally tighter than single colour knitting in the same yarn, so it’s important to keep the unused strands loose enough to stretch with the rest of the fabric. But how exactly do you manage multiple strands of yarn at the same time while maintaining the pattern gauge?
Here are the most common methods of holding your yarn for stranded colourwork. Keep in mind that everyone knits differently and you might find that you’re comfortable somewhere in between!
For this tutorial I'm using Rauma 3tr. Strikkegarn. The light grey (103) is the background colour, and the purple (142) is the foreground colour.
Throwing Both Colours with One Hand

AKA Both strands on the right.
This method works well with English-style knitting, in which the working yarn is wrapped around the needle with one hand, and then let go for each stitch. When working colourwork in this way, you simply pick up the strand that’s the correct colour for the next stitch, knit it, and then drop it to pick up the next colour. This method is easy to understand and pick up, as you are still only holding one colour at a time.
Things to watch out for: maintaining colour dominance. The strands can easily become twisted around each other if you always bring the next colour up in the same direction, which can also cause the pattern to recede and look little murkier than it would otherwise.


To work a stitch in the background colour (light grey), bring the strand OVER the foreground colour before working the stitch.


To work a stitch in the foreground colour (purple), pick up the strand from BELOW the background yarn.

Here you can see the light grey floats are above (closer to the needle) and the purple floats are below (further from the needle).
As you gain experience you might find that you can hold both strands in your right hand at the same time. This is usually done by tensioning the yarn around the pinkie and ring fingers and holding the one strand over the index finger and one over the middle, as in this video.
And yes, you can also throw both yarns using your left hand!
Picking Both Colours with One Hand

AKA Both strands on the left.
This method is great for Continental and Combined knitters who tension the yarn by holding it with the left hand, and use the needles to “pick” the working yarn and draw it through the stitch. The two colours can be held on the same finger or two different fingers (say, index and middle), and the right needle to used to grab the correct colour for the next stitch. This method is a bit faster than throwing, as you don’t need to pick up and put down the yarn for every stitch, and it’s easier to keep the balls of yarn from twisting.


To work a stitch in the foreground colour, maneuver the right needle tip so that it goes beneath the background strand, then bring up a stitch from the foreground yarn.

To work a stitch in the background colour, work a normal continental knit stitch. With the background colour held on the index finger, it'll always be kept above the foreground colour to maintain colour dominance.

The two strands can also be held on the same finger, although they'll want to snug up right next to each other. A colourwork yarn thimble can help with this by holding the strands apart from each other.

Two Hands: One Colour in Each

Two-handed colourwork is a blend of both throwing (with the right hand) and picking (with the left hand). This method is popular for a reason - it’s quick and efficient, plus you look bad-ass doing it!

The dominant or foreground colour is held with the left hand, and the background colour is held with the right hand. Each stitch is worked in its correct colour, bringing the yarn from the right or left hand. As long as you consistently hold the same colour in the same hand, the yarns will automatically be in the correct position, under or over, to maintain colour dominance. This method also keeps the two yarns from tangling, and is generally the quickest way to work stranded colourwork (once you’re comfortable with it).

The biggest challenge with two-handed colourwork is getting even tension between the two hands. The English-style wrap tends to be tighter than a Continental knit, especially if you’re not usually a Continental knitter. So it’s extra important to watch out that your floats are consistently loose enough.
Maintaining Tension

As we knit, the completed stitches tend to bunch up on the right needle, making the width of the fabric seem narrower than it really is. If you draw your float across bunched-up stitches, it won’t be long enough once the fabric is relaxed and will cause the fabric to pucker.

Any way you work colourwork, there’s a simple trick to preventing floats that are too tight and cause the fabric to pucker: spreading the stitches out on the right needle before working the next colour.

After working a few stitches in one colour, simply spread out the stitches of that colour on the right needle so that they aren’t bunched anymore before working the next stitch in the other colour. Repeat every time you change colours, and you’re unlikely to end up with puckery fabric. Make sure you're also bringing the next colour under (for the foreground) or over (for the background) the other strand.

It IS possible to knit colourwork too loosely, but it’s much more common for it to be tight - so make sure you swatch, and go up a needle size or two if needed!
Don't forget to block!
It’s truly amazing what a bath will do. The water allows the yarn to relax and distribute itself evenly across the fabric, which locks the stitches in and makes your project look great!
Save this tutorial for later on pinterest!

Also in Journal


Ysolda’s size chart for knitwear designers
Inclusive size charts for sizes xxs to 7xl, created by a knitwear designer and featuring measurements that can be difficult to find. Newly updated with an extended size range with measurements for cup sizing and broad shoulders.
Read More


Deep Shadow Heel Tutorial
The Deep Shadow sock heel is a beginner friendly short row sock heel that provides a more anatomical fit like a heel flap and gusset.
Read More


20 Years of Ysolda Knitting Patterns: Part 2
June 2025 marks twenty years of designing knitting patterns for Ysolda. In this blog post she picks her favourite from each year for 2015 to 2025,
Read More
