Your Cart is Empty


As makers ourselves, we love to see people celebrating not just their creativity but also expressing who they are and celebrating themselves too. In the our ongoing photography series, we've invited contributors to talk us through both the technical and emotional side of taking a photo.
Next up is a guest post by Kat Goldin, a smallholder, photographer and art director of The Crochet Project, who talks us through the process of photographing your makes - such an important part of capturing the story of what you create.
- Ysolda


From those first stitches to the midway point to that beautiful finished object, capturing the journey of your makes can be such a special part of the creating process. It tells the story of the make in a way project notes just can’t - the ups and downs, the time of year, the yarn you used, the cups of tea drank and if you are sharing on social media or on Ravelry, it brings your followers along with you on that journey.

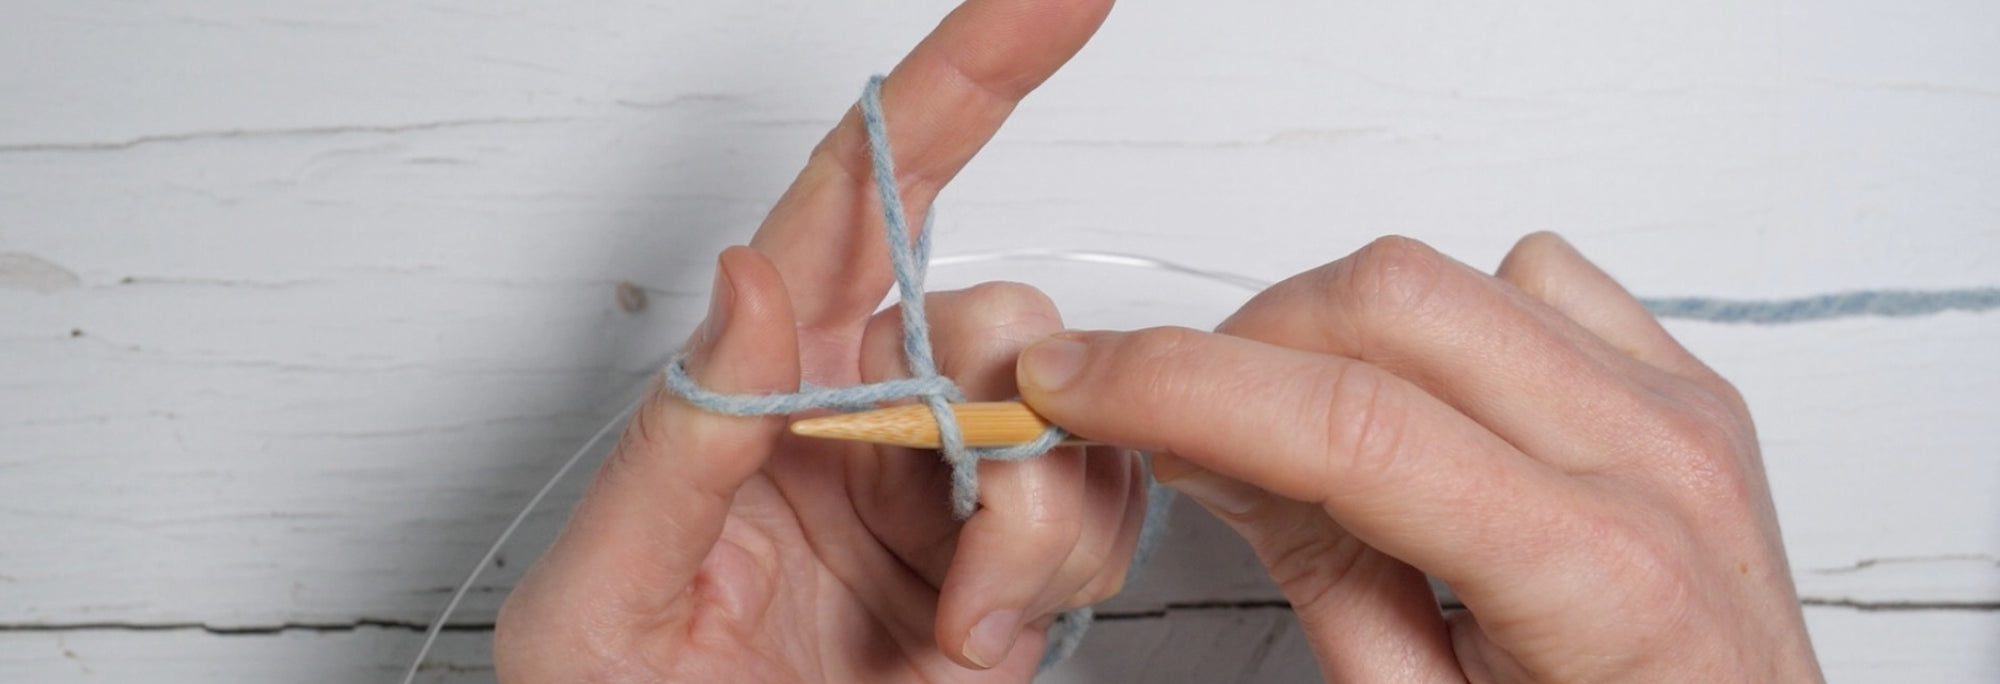
I think that it is easy to get caught up on what camera you need to take photos. It used to be that there was a stark difference between a “professional” camera and a camera phone. When I started teaching photography 9 years ago, we would recommend buying an SLR as a way to get reliably great images. Advances in technology, especially in smart phone cameras, means that most of us have amazing tools in our pockets, with high resolution, good controls and, importantly, convenience!!! It’s always there with you and ready to be shared.
While things like reflectors, backdrops, flashes or lighting can all be helpful if you are photographing your knits, the only other tool that I would say is essential in photography is some form of a tripod. Getting photos of yourself can be tricky without one. It gives you a bit more flexibility when it comes to posing for photos or getting in-progress making shots and means you aren’t reliant on a friend or family member to take photos for you.
You don’t need to spend a lot to get a decent tripod. There are phone specific ones that range in price and are really useful for getting photos of yourself from a bit more of a distance than a selfie. That said, I frequently still stick my phone in a jar and stick the jar somewhere for an excellent makeshift tripod.
Photography at its core is the practice of recording light and understanding how light interacts with your subject is what separates a good photo from a great one. Knit- and crochet-wear and all of their associated tools, notions and yarns have such a place in my heart precisely because of the way they interact with light. The textures and patterns, their softness and structure make them a photographer’s (well, this photographer’s) dream.


No matter what camera you are using, on whatever settings it may be on, the camera “reads” the scene in front of it based on how much light is in it. The more light, the more information it can read. This is why dark photos are often pixelated or grainy - that grain is where the camera is missing information and having to make assumptions about what you are trying to capture. Now, the opposite can be true too - photos that are too bright overwhelm the sensors, completely “blowing out” the image with light.
What you are aiming for is something in between all the light information and none and you have some in camera controls to be able to do that. In a camera like a dslr, you can make adjustments to settings like:
In film cameras and many digital cameras, these are physical items you can control. The aperture refers to little blades that dilate around a lens, the shutter is like a curtain in front of the sensor and the ISO is a specially treated film.
On camera phones, however, these are mostly controlled by the computer inside the phone and the computer makes decisions for these controls for you. You can download apps like VSCO (a favourite of mine) or Footej to give you more control of those settings on your phone. This is especially useful if you are struggling to get the photos you want out of your camera phone app.
That said, with the improvements in technology, phones do a pretty great job of taking good photos, so the adjustments you make in camera won’t have as much of an impact on your photos as those that can usually be found by adjusting how and where you are physically taking your photos.


There is one exception to this and that is the bokeh or background blur that is achieved through either the aperture of your lens (ensuring that only the foreground is in focus) or through the camera’s background blur or focus depth feature. This is often where you can tell a “big camera” photo from a camera phone as images from the latter tend to be a bit flatter. Apps like the ones mentioned above can help you control that depth of focus on your images.


Artificial light and flashes are tricky to get right unless you a) spend a lot of time learning how to work with them or b) spend a lot of money getting high end ones. Generally, speaking natural light is your friend when taking photos of your makes. How your harness and position that light can help you you get great photos and also help set your style for photography.

Writing from a dreary November in Scotland, this sort of light seems like a distant memory of summer, but it is generally what we would consider a “well lit” room or outside on a day that is bright. Light isn’t coming from any particular side and the full image is exposed.
The light source is usually above or at both sides of the subject - think outside on a sunny, but not too sunny day or in a well lit room with light coming in from a window or windows. This is the sort of lighting used in bright, poppy images with projects on a white background where the focus of the image is on the colours and shapes. It helps show off clean lines and colour differentials. These images have historically done well on social media because they make a quick impact.
The thing to remember here is to keep your back to the light (or bum to the sun) whilst being mindful of your shadow. This ensures your subject is getting the most light available.
Good for: portraits, pattern or garment details, main pattern image

A back lit photo is one where the light source sits behind the subject of the photo. This is how you get lens flare - those glowing rings or rays of light in a photo. While not a technically difficult photo to achieve, the trick here is that the light source can often throw off the exposure of your subject, so you lose some of the details of the pattern. What you lose in detail, you do make up for in atmosphere. This is why so many photographers praise “Golden Hour” - the hour just after sunrise and just before sunset - you can get these gorgeous atmospheric shots with beautiful lens flare, but also harness the syrupy light for your overall, more evenly lit shots.
Good for: portraits, creating an atmosphere
Not good for: details

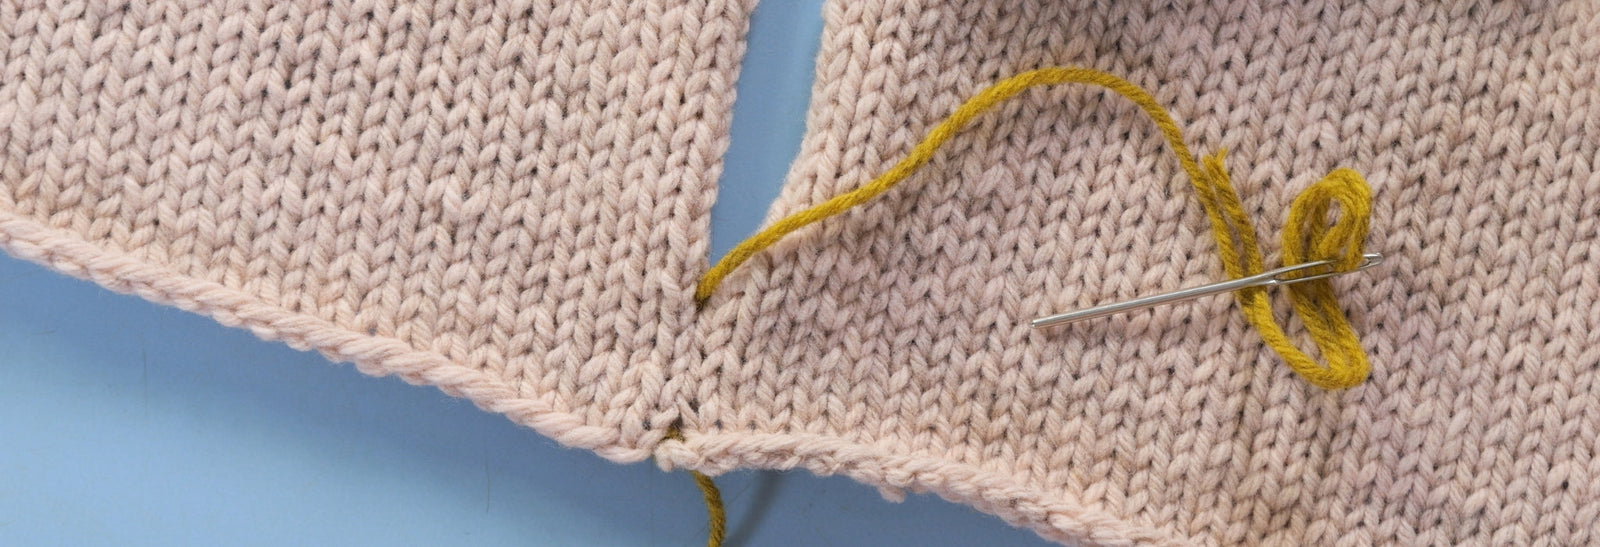
When a light comes from one singular direction or source, its classed as directional light. For the art fans amongst us its also called chiaroscuro light. This sort of lighting adds depth to your images, with areas of light and shade. I really think that knitwear comes into its own with this sort of lighting as the beautiful texture and tactile nature of the materials shines through in a way that is lost with other kinds of light.
This sort of imagery is achieved by having your subject or project next to a light source like a window.
Good for: showing the texture and details of a project or yarn. Creating atmosphere without losing the details.
While light is really key to telling the story of your make in photography, it isn’t the only factor. Making is a process and capturing that process is as much about gathering the elements of that story together in your image(s).
When you are capturing the process of your make, it can be tempting to take a quick in-progress shot and leave it at that. But spending a bit more time to think about the story you want to tell about that make can make the image come alive. A bundled up sweater on your needles may not show off all the hard work you have put into it in the same way as laying it out with a few “props” around it will.

Some things to think about when styling an in-progress shot:
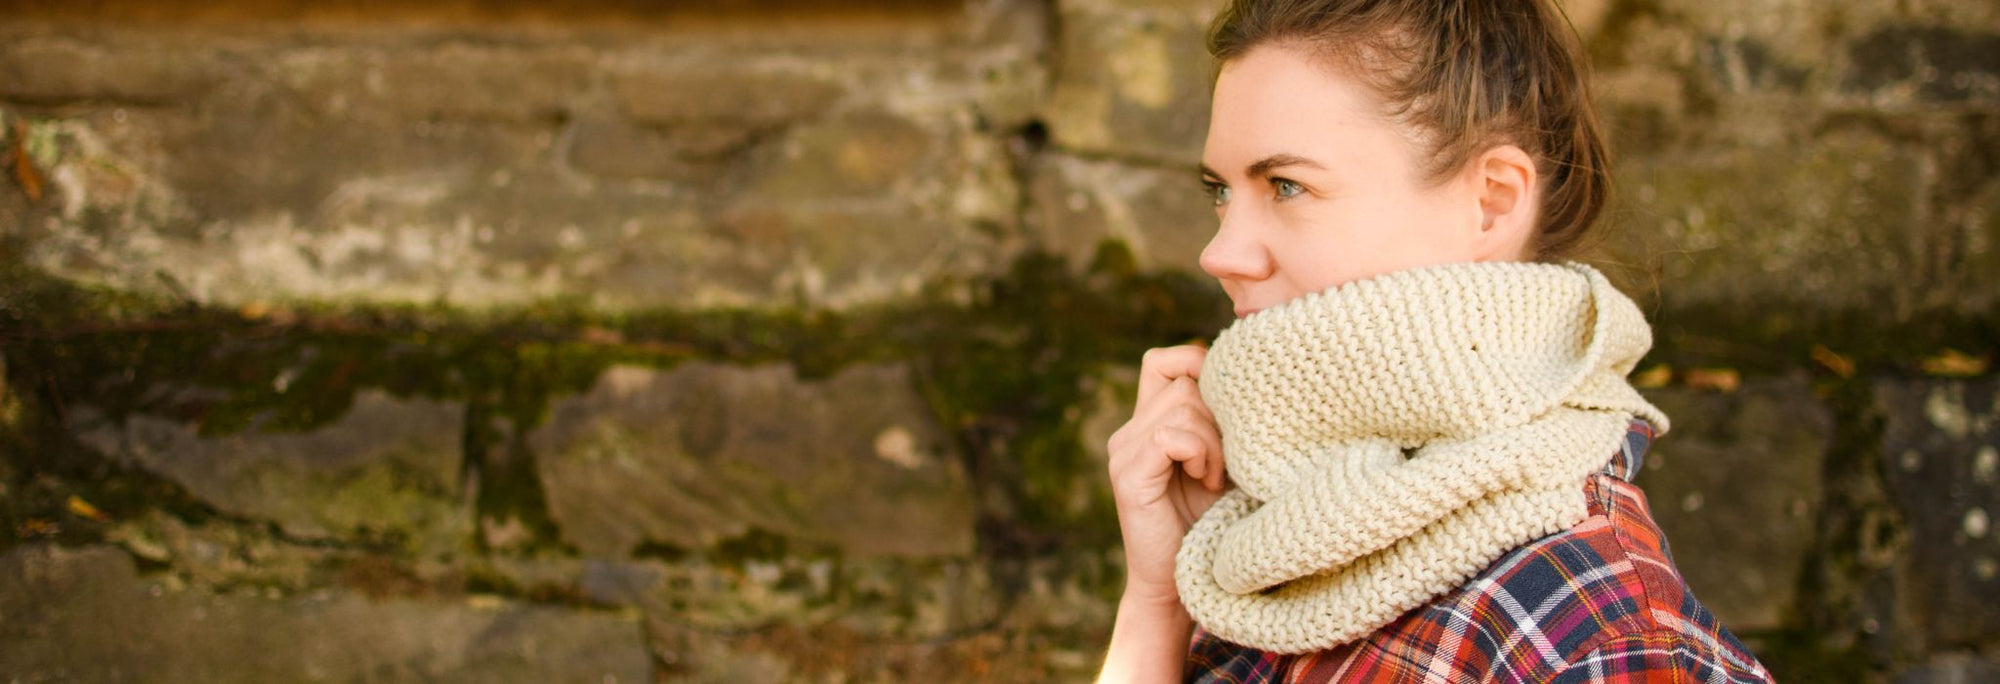
One of the hardest elements of photographing your makes is getting that final finished object shot on yourself!! Obviously a tripod and the self timer function on your camera or on your phone are the technical solution to taking images of yourself, but knowing how to style yourself in images can also help you feel more comfortable.
There are often technical reasons why when we look at a photo of ourselves we think “I look awful in that photo”. Photos by their nature flatten 3-d objects and then combined with the angle of portraits are taken at (a phenomenon called foreshortening), we end up not looking like ourselves.
When we smile for the camera, we tend to pull our chins in and scrunch our shoulders up - possibly because we are uncomfortable or we have been trained from a young age to “smile for the camera”. Combine that with foreshortening and it doesn’t make a very recognisable photo of ourselves. To combat this, drop your shoulders and think about pushing your ears towards the camera when you smile. This creates space and shadows in your neck and combats the cameras natural flattening effect. It feels awkward, I know.
Positioning your camera slightly higher than eye level will help get a more natural perspective on your photos, as we are more used to seeing ourselves and others from eye height.
Also, if you are showing a garment or accessory, it can feel awkward to know what to do with your body, especially your hands. I always like to start with the idea of what would I be doing naturally in this piece? Grab a cup of coffee or a book or a cat, pose like a super hero, - give yourself something to do other than standing awkwardly for photos. Not only will it look better and more natural, you will get a better and more interesting photo.
Above and beyond any other tip, my advice for great photos is just to keep taking them. It takes practice to develop a style and an eye and to find a way that works for you.
Photographing Your Makes, the 4th installment of The Crochet Project’s Online Course Series: The Self Publishing Toolkit starts on the 1st of December. Find out more here.