Patterns
Kits
sundries
knitting tools, buttons and notions, project bags and other pleasing little things
knitting tools, buttons and notions, project bags and other pleasing little things

Exclusive Scotland needle gauge by Katrinkles

Zippered pouches in two sizes by our studio neighbour Anna Wright

keep small tools accessible with the Maker's Keep
gift 2019
Subscribe to our Colourwork Club for a gift that lasts well into the new year. Your recipient will receive a new colourwork kit in Janurary, February and March

Subscribe to our Colourwork Club for a gift that lasts well into the new year. Your recipient will receive a new colourwork kit in Janurary, February and March


Last minute shopping? Gift cards are delivered electronically - forward the email or print it for your recipient. A range of amounts are available and gift cards don't expire.


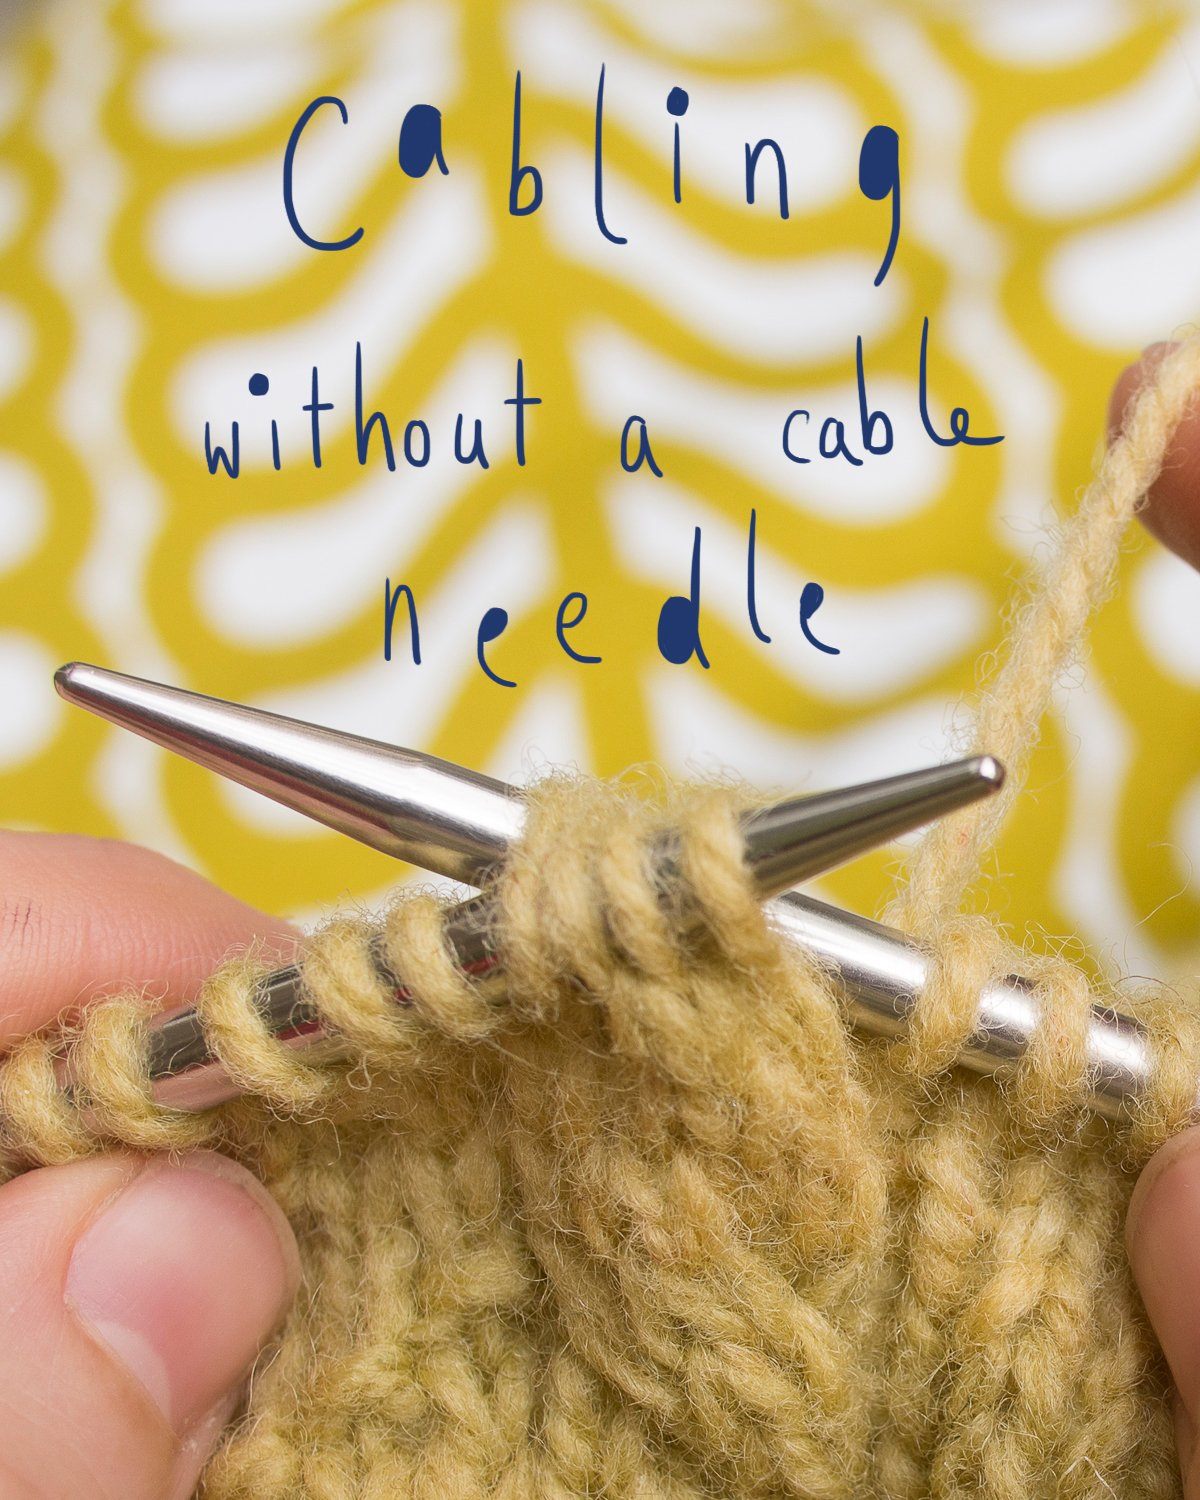
Cabling without a cable needle
May 08, 2014
This is one of those little tricks that makes a huge difference to how fast and efficiently you can knit. Once you get the hang of it simple cables will barely interrupt your flow. For cables that involve multiple crossings at once or large numbers of stitches you’ll probably want the security of using a cable needle.
Front crossing (left leaning) twists


Back crossing (right leaning) twists


Start with a sticky wool so that the free stitches stay where you put them. With a bit of practice you’ll be slipping those stitches free and scooping them up again in one motion — cable needle freedom in any yarn!
Also in Journal

Deep Shadow Heel Tutorial
September 25, 2025

20 Years of Ysolda Knitting Patterns: Part 2
June 23, 2025

20 Years of Ysolda Knitting Patterns: Part 1
June 19, 2025
Recent Articles
-
Deep Shadow Heel Tutorial
September 25, 2025
-
20 Years of Ysolda Knitting Patterns: Part 2
June 23, 2025
-
20 Years of Ysolda Knitting Patterns: Part 1
June 19, 2025
-
Learn to Knit: Mattress Stitch
March 29, 2023
-
How to Knit a Scarf: A Beginners Guide to Scarf Knitting
March 23, 2023
-
Learn to knit: the long tail cast-on
February 03, 2022
-
How to Graft Your Knitting
December 09, 2021
-
Crochet Provisional Cast-on
December 02, 2021
-
Learn to knit: How to knit in the round with double pointed needles
November 25, 2021
-
Learn to knit: How to knit in the round using the magic loop technique
November 25, 2021
Free resources
-
KALS, step-by-step pattern guides and free patterns
Learn brioche with the free Daniel's Hat pattern
Tombreck - a free chevron beanie pattern
Working the brioche neck detail on the Polwarth sweater
Installing a zipper and ribbon, finishing wee Carson
Yarn colour ideas for Threipmuir sweater
Additional colourways for the Joy mitts (choose your pride flag)
How to join the shoulders on Wardie
How to join the pockets on Granton and Wardie
Finishing Resources for Granton
Broughton mittens tutorial part 1
Broughton mittens tutorial part 2
Broughton mittens tutorial part 3
Basics
Casting on
Decorative Channel Island Cast-on
Binding off
3 Easy Stretchy Bind-offs (p2tog bind-off; k2togtbl, k1 bind-off; Jeny's surprisingly stretchy bind-off)
Tubular Bind-off for brioche stitch
Increasing
Paired increase methods compared
How to continue in pattern while increasing and decreasing
Decreasing
Brioche stitch double decreases
Knitting in the round
How to Knit in the round using Magic Loop
How to Knit in the round using DPNs
Short rows
Swatching and gauge
Tips and tricks
Avoiding ears when binding off
Tighter purl stitches for neater cables and ribbing
Cabling without a cable needle
How to knit more symmetrical yarn overs
Bust darts in sweaters with all over stitch patterns
A magic formula for evenly distributing shaping
Superwash v Non-Superwash Wool
Picking up sts from the middle of the fabric
Reading knitting patterns
Understanding "continue in pattern"
Help! Where am I in my knitting project?
Using charts, even if you hate them
Finishing
Garment knitting
Joining the body and sleeves on a seamless bottom up sweater
Sizing
Ysolda’s sizing chart for knitwear designers
Inclusive garment knitting
How to pick a garment without a model for you (specifically addresses finding garment patterns when your gender identity isn't represented and the styles you want to knit might not be sized to fit your body)
How does ease affect inclusive size ranges?
Specific stitch patterns
Lace
Identifying and fixing mistakes in lace knitting
Colourwork
Getting started with stranded colourwork
Understanding colour dominance
Working stranded colourwork over small circumferences
Decreases in stranded colourwork
Holding the yarn for stranded colourwork
Ladderback Jacquard (a neat way to deal with long floats)
Cables
Cabling without a cable needle
Cabling without a cable needle on the wrong side
How to knit cabled decreases
Closed ring cable increases and decreasesBrioche
How to work brioche stitch in the round
Other crafts
Cross stitch
How to begin your first large cross stitch project
How to finish a cross stitch project with an embroidery hoop frame
Mending

Sign up today
Find out the latest news from the studio such as sales, pattern releases, and new workshops or KALs our learning community, The Knitwork. We also share helpful tips and exclusive subscriber discounts...


