


Kits


New! Celebrate this chapter of Ysolda.com as it comes to an end with a special, personalised bundle of our best products, hand-picked by our team just for you.


gift 2019


Subscribe to our Colourwork Club for a gift that lasts well into the new year. Your recipient will receive a new colourwork kit in Janurary, February and March
Last minute shopping? Gift cards are delivered electronically - forward the email or print it for your recipient. A range of amounts are available and gift cards don't expire.

How to Graft Your Knitting
How to Graft Your Knitting

Grafting is a knitting technique used to join two sets of live stitches together, most often stockinette stitch. Instead of binding off and sewing two edges together, you can use a tapestry needle and yarn to join the stitches completely seamlessly. Grafting creates a new row of knitting by drawing the tapestry needle through the stitches in a particular order. It’s best used for sock toes, hats, mitts, and anywhere else you need to join two pieces without a bulky seam. However, grafting isn’t a great choice for sweater shoulders or other structural seams because it’s just as stretchy as your knitting!
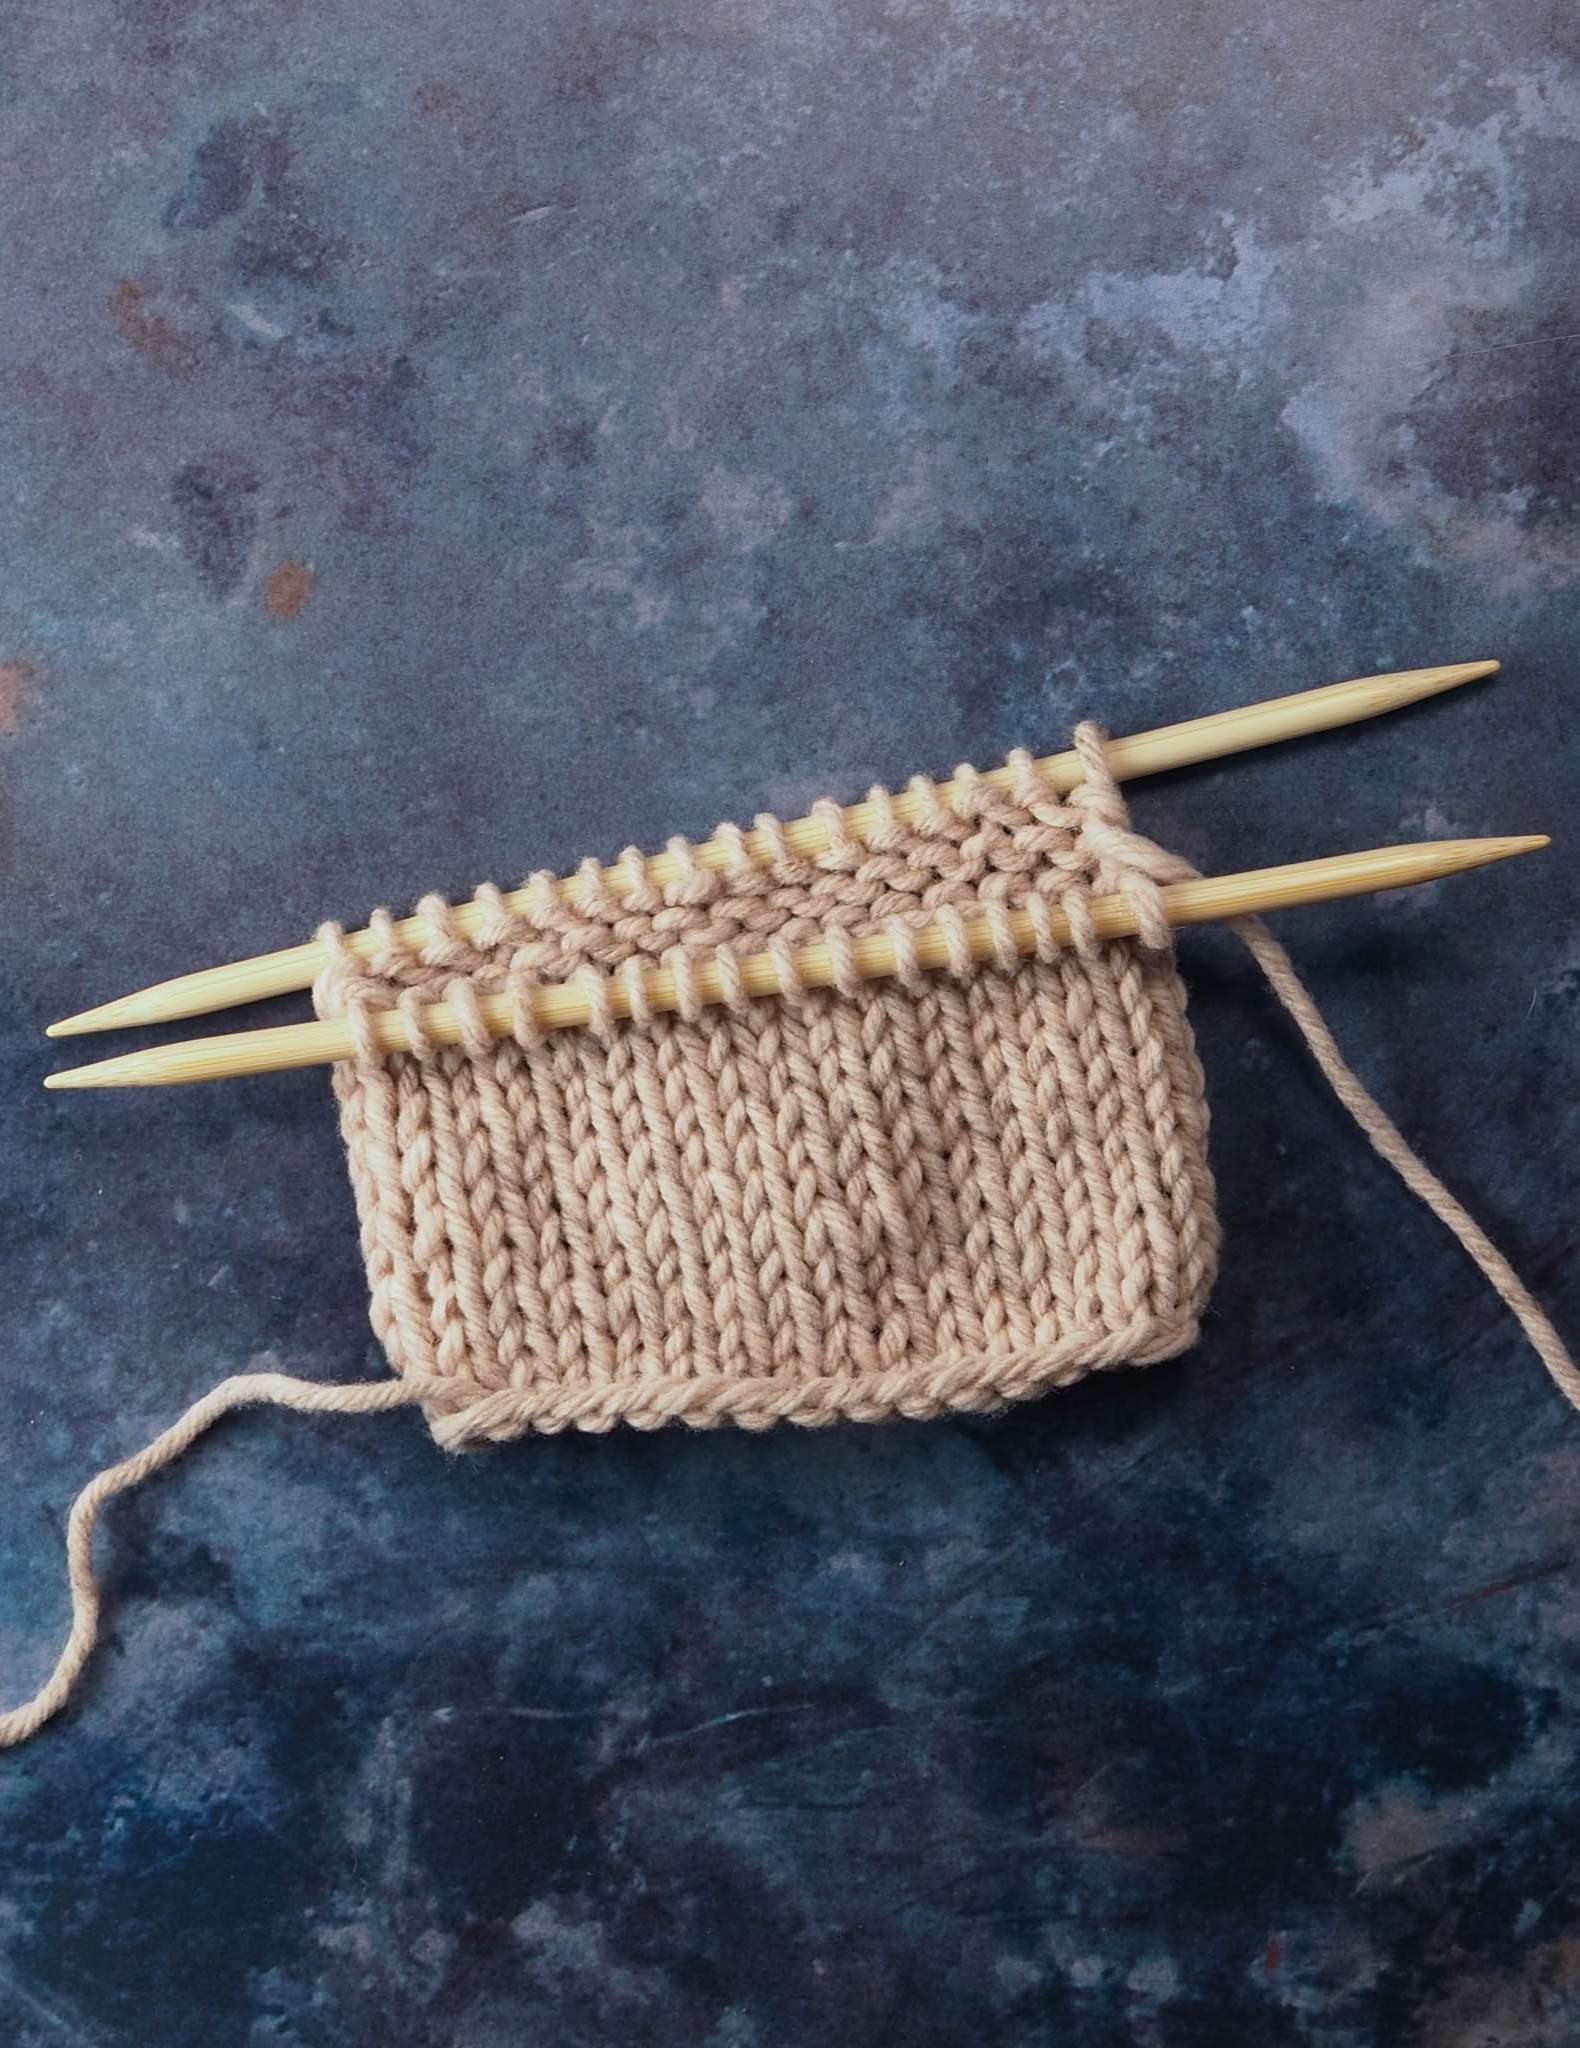
Set Up for Grafting Knitting

Have your two sets of stitches ready, on two needles (or both needle tips of 1 circular needle). The two needles should be held together parallel, with both needle tips pointing to the right. The needle closest to you is the “front” needle and the other is the “back” needle.

Cut your working yarn, leaving a tail at least 3 times as long as the section you need to graft, and thread it onto a blunt tipped tapestry needle. In the step-by-step photos below we've used a contrast colour so you can clearly see which stitches have been added, but you'll almost always use you working yarn.
Grafting directions – video
Grafting directions


Insert the tapestry needle purl wise (from right to left through the front of the loop, as if you were going to purl it) into the first stitch on the front needle, and pull the tail all the way through.


Then insert the tapestry needle into the first stitch on the back needle knit wise (from left to right through the front of the loop, as if you were going to knit it), and draw the yarn tail all the way through the stitch.
Continue Grafting

Step 1. Insert needle through the first stitch on the front needle knit wise, draw the yarn through, then drop this stitch off the knitting needle.


Step 2. Insert needle through the next stitch on the front needle purl wise, draw the yarn through, and leave this stitch where it is.

Step 3. Insert needle through the next stitch on the back needle purl wise, draw the yarn through, and drop this stitch off the knitting needle.

Step 4. Insert needle through the next stitch on the back needle knit wise, draw the yarn through, and leave this stitch on the knitting needle.

Repeat Steps 1-4 until you’ve worked across all your stitches.


When you reach the last couple of stitches, skip step 2 and go directly to step 3 to finish.

Every few stitches, adjust the tension on the grafted stitches using the tip of your tapestry needle. Be careful not to pull your grafting yarn too tightly, or the join will be visible and not stretchy.

The Concise Version
If you’ve worked with grafting before and just need a refresher, here you go:
Setup: Front purl, back knit
The rhythm: front knit off, front purl on, back purl off, back knit on, repeat.
Grafting definitely takes a bit of concentration and practice to master, but you will get into a rhythm with it! Your perfectly seamless sock toes and mitten tops await!
Also in Journal


Ysolda’s size chart for knitwear designers
Inclusive size charts for sizes xxs to 7xl, created by a knitwear designer and featuring measurements that can be difficult to find. Newly updated with an extended size range with measurements for cup sizing and broad shoulders.
Read More


Deep Shadow Heel Tutorial
The Deep Shadow sock heel is a beginner friendly short row sock heel that provides a more anatomical fit like a heel flap and gusset.
Read More


20 Years of Ysolda Knitting Patterns: Part 2
June 2025 marks twenty years of designing knitting patterns for Ysolda. In this blog post she picks her favourite from each year for 2015 to 2025,
Read More
