


Kits


New! Celebrate this chapter of Ysolda.com as it comes to an end with a special, personalised bundle of our best products, hand-picked by our team just for you.


gift 2019


Subscribe to our Colourwork Club for a gift that lasts well into the new year. Your recipient will receive a new colourwork kit in Janurary, February and March
Last minute shopping? Gift cards are delivered electronically - forward the email or print it for your recipient. A range of amounts are available and gift cards don't expire.
Default techniques
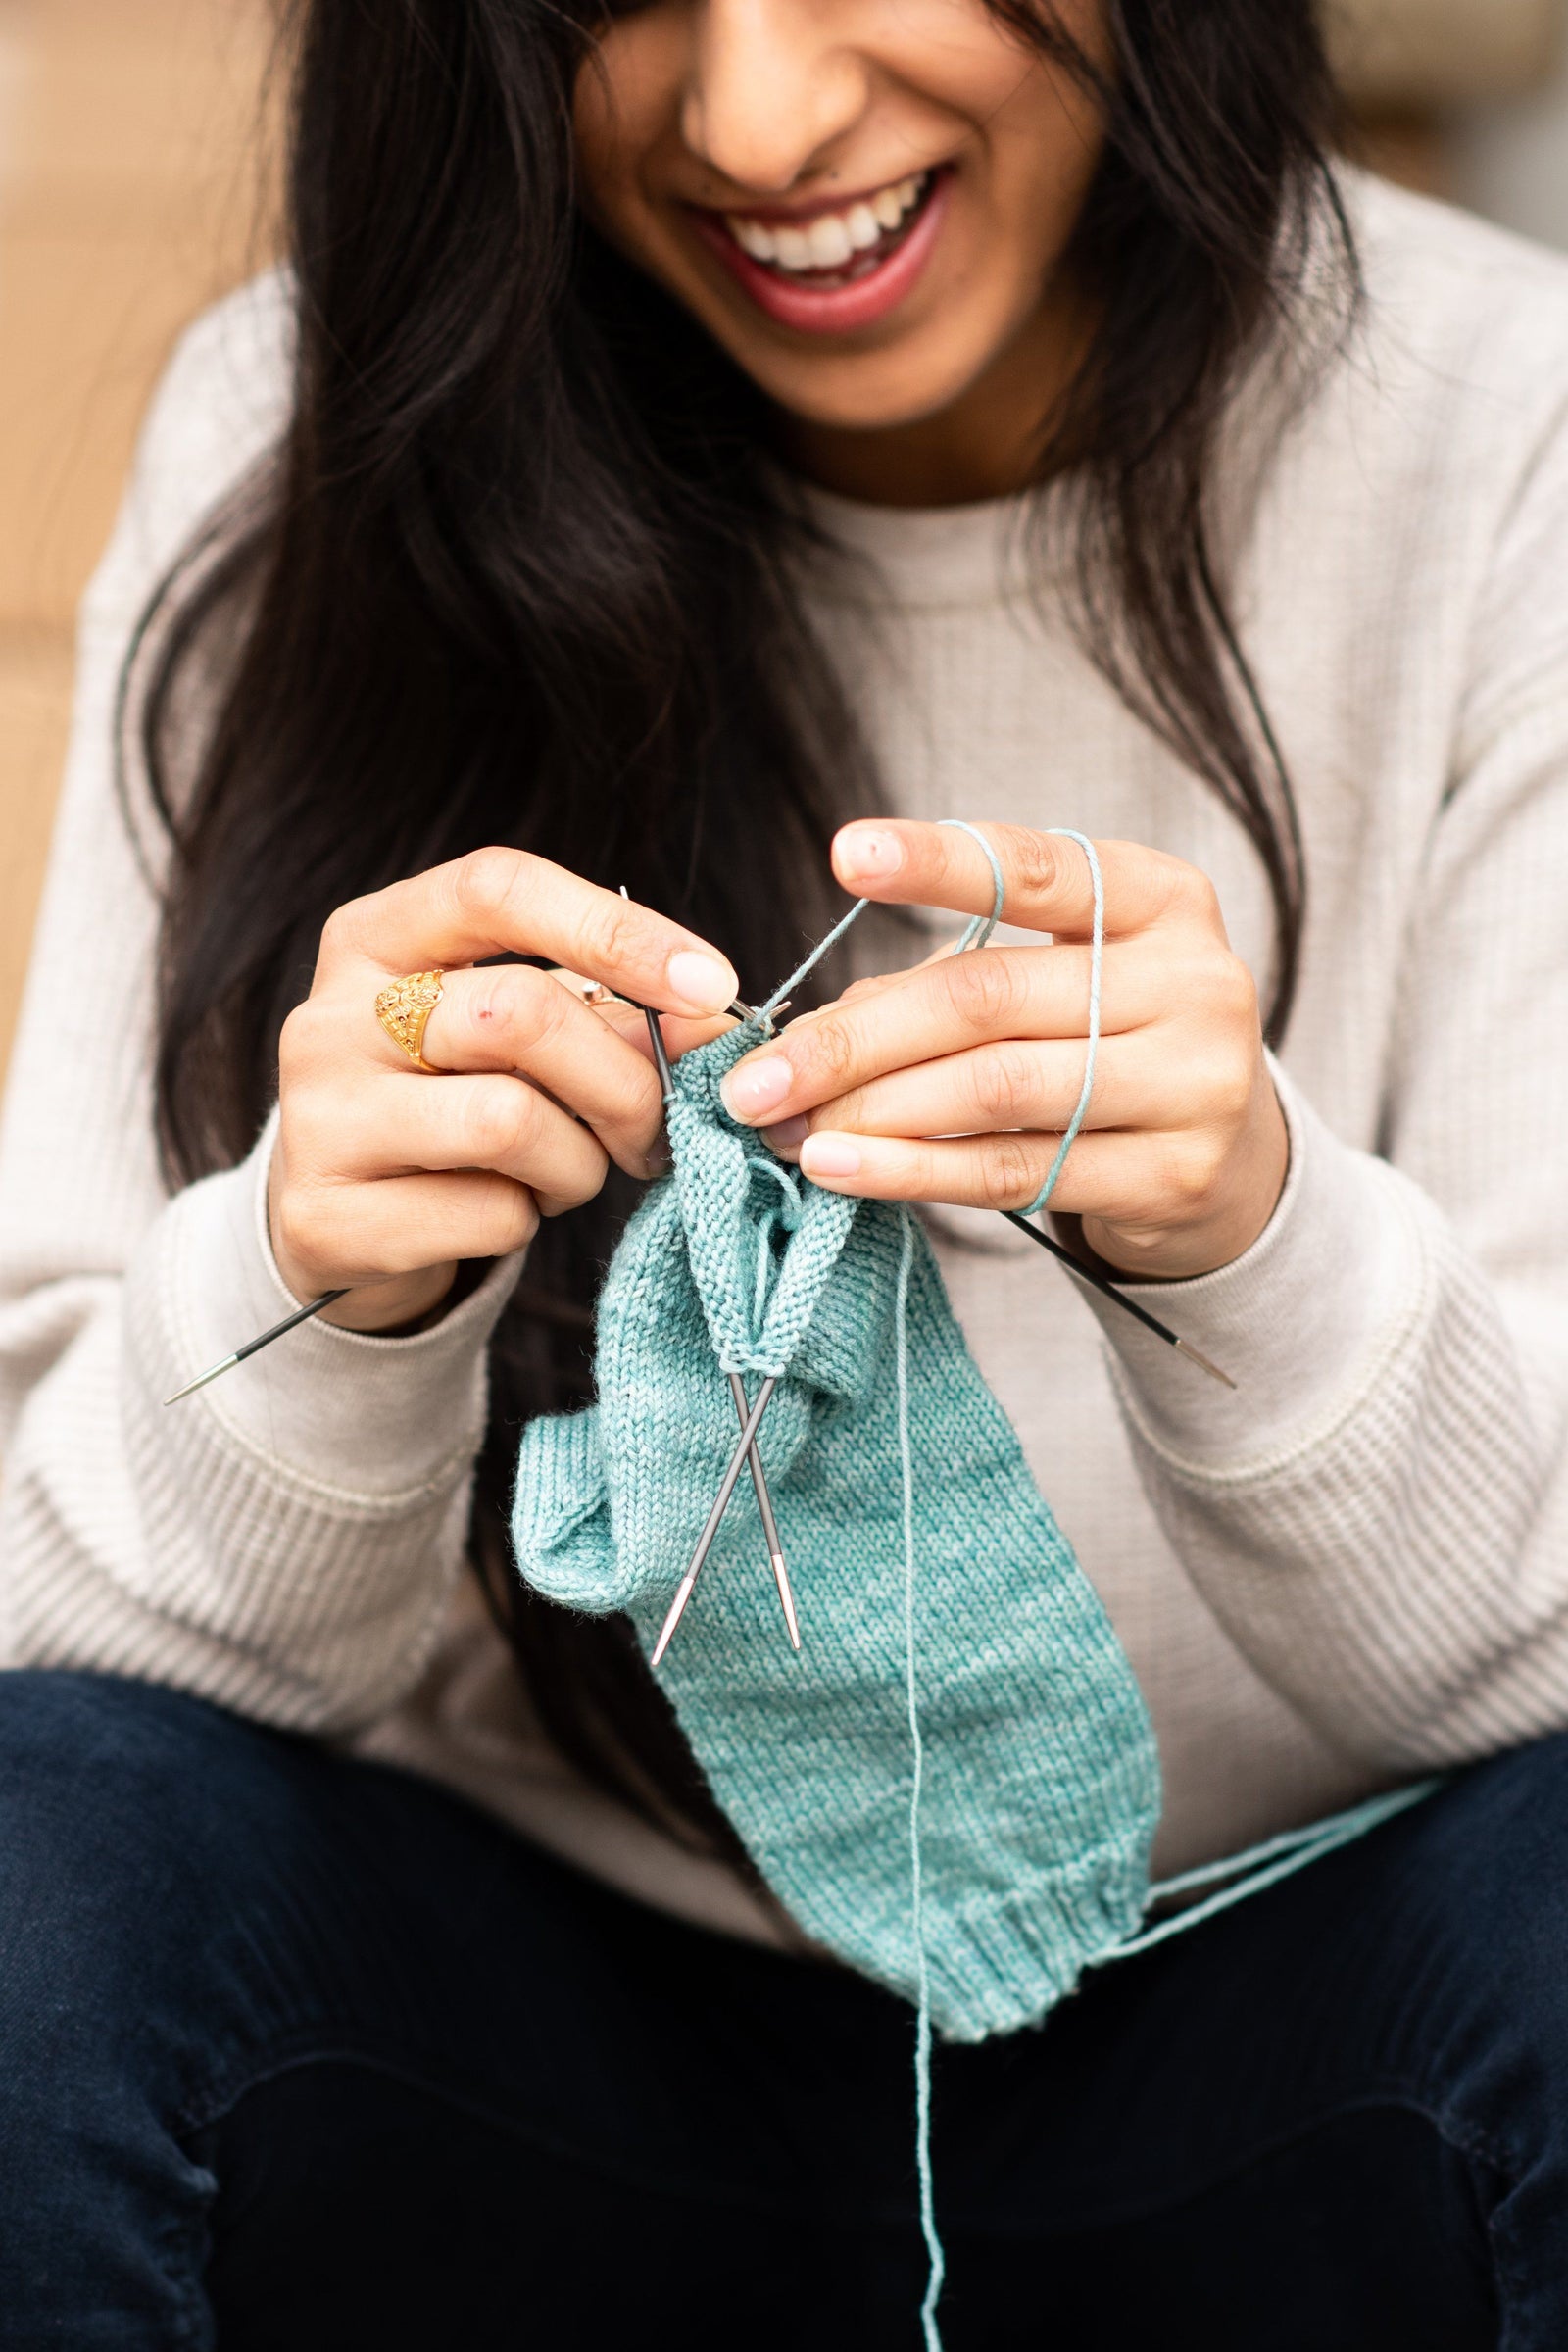

I’ve talked with lots of knitters recently who are, in many ways, extremely accomplished, but who learn new techniques as and when they encounter them in patterns. That’s my basic approach to many skills – from coding to cooking – but it can leave you with some holes in your knowledge. Sometimes that can end up being the simplest stuff, things that aren’t specified in a pattern because they’re not done in an exceptional way, or we end up defaulting to something that worked well in one pattern without questioning whether it’s the best technique for most purposes.
My best advice for becoming a more confident, more accomplished knitter is to step away from the patterns! Not completely, but picking up a reference book, reading the how and not just the why of techniques and then trying them out on swatches will make a huge difference. If you look at more than one reference you’ll probably encounter some strong opinions and disagreement, but that’s ok.
Armed with a greater understanding and your own samples you’ll be able to make your own decisions about which techniques to use in which situation. And maybe the next time you work from a pattern you’ll disagree with the way something was done. All I ask is that you try to figure out whether the designer did it that way for a reason!

When techniques aren’t specified here are a few good default options for different scenarios.
Should selvedge stitches be slipped?
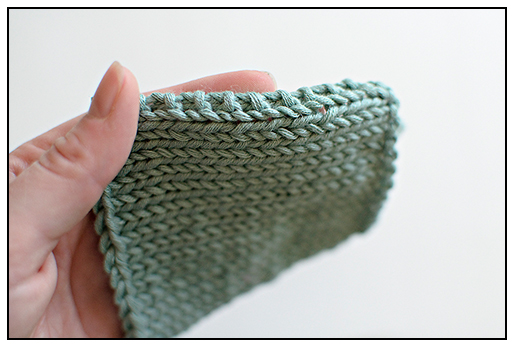
A slipped stitch selvedge can make a pretty chain along the edge of your knitting that looks especially great on garter stitch. There are a few variations on working this, but this method gives a nice symmetric result without the chains being twisted. A good choice for things like scarfs and wraps where the selvedge edge will be the finished edge of your piece.

What about edges that will be seamed?
I find that working a slipped stitch selvedge on stockinette distorts the second stitch in from the edge. If I’m going to seam the edges together I don’t really care what the edge looks like as long as that second stitch is nice and neat so I prefer to just work the edge stitches as for the rest of the row.

Another option that can make it a bit easier to match two pieces row for row and to block the pieces flat before seaming is a garter stitch selvedge. To do this simply knit the first and last stitch of every row.
What about edges that stitches will be picked up from?
The crucial question here is ‘how many stitches will be picked from each row?’ It’s very easy to pick up stitches from each of the chains along a selvedge but it only stays neat and simple as long as you pick up one stitch per chain (ie. one stitch per two rows). This works great for picking up along the vertical edge of garter stitch and I’m fond of picking up and purling or picking up and knitting from the wrong side which results in the chain lying on the right side of the work.


Unless the vertical edge is garter stitch or a similarly compressed stitch pattern like brioche you’ll probably need to pick up more than one stitch for every two rows. Often the ratio of stitches to vertical rows will be closer to 2:3 or 3:5. 2:3 is a good rule of thumb for picking up along a vertical edge although comparing row to stitch gauge in the stitch patterns used will be more accurate.
Casting on
Casting on a new piece – default to long-tail cast on
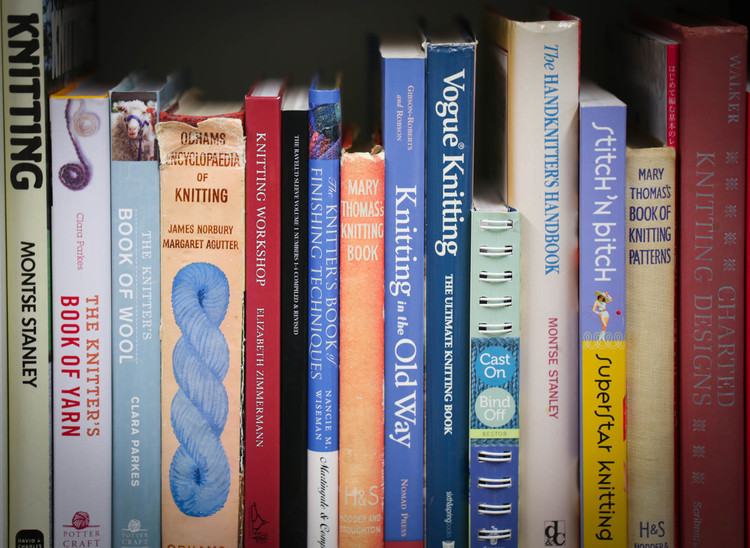
Like many knitters I first learned a knitted on cast on, but it was awkward to knit into and halfway across the row I’d invariably end up with a strange section of extra yarn between the needles. It was such a relief to discover that that first row didn’t need to be so frustrating! I learned the long tail method from Stitch N’ Bitch (actually a great basic reference book) and haven’t looked back. In the excellent book Cast on Bind Off Leslie Anne Bestor calls it ‘the workhorse of the many methods available’.
There are at least three different methods of working this cast on that all produce the same result, in addition to multiple variations that combined knits and purls. In the extensive but sometimes rather dense The Handknitter’s Handbook Montse Stanley gives directions for Thumb, Italian and German (the slingshot version) methods all of which produce identical cast ons.
The only thing to note is that to avoid purl bumps on the right side of the work the first row should always be worked as a wrong side row – if your pattern begins with a right side row you can skip it, it’s included in the cast on. Sometimes I like the look of the bumpy side being visible so you might want to try both ways.
If you find this cast on ends up too tight you can try casting on on a larger needle but one of the things I like about this method is that you can control the tightness of the cast on by spacing the cast on stitches on the needle closer together or further apart. Structurally once you work the next row the yarn between the cast on stitches will be absorbed into the stitches.
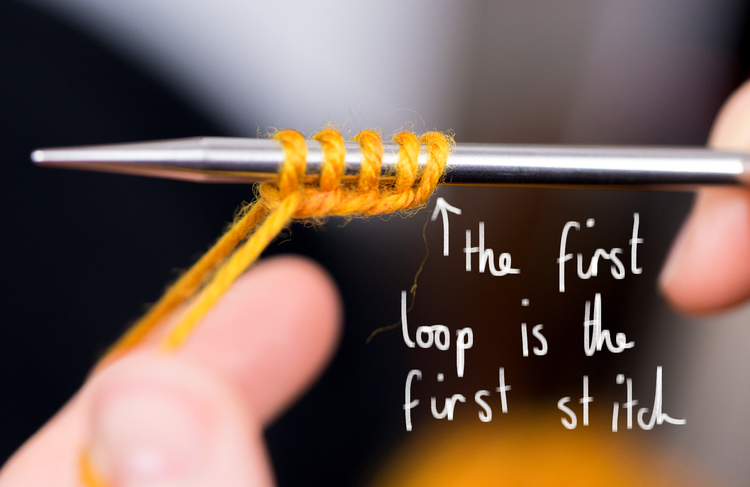
For a neater finish skip the slip-knot.
Casting on in the middle of a row – default to cable cast on
The most common situations where you might need to cast on some extra stitches onto an in progress piece are at the neckline and underarms of top down sweaters and for buttonholes. All of these locations are subject to a lot of strain from the weight of the garment and taking it on and off so you’ll want to use a firm cast on method. That makes the cable cast on a good choice. In the middle of a row you’ll need to flip your work over, cast on next to the stitches just worked and then flip it back over.
Default to backwards loop for more delicate garments
For the smallest garments or something modular where you don’t want a firm edge showing on the wrong side you may prefer to a backwards loop cast on over a cable cast on. Once stitches are picked up the join becomes very flat and almost invisible but it’s not quite as sturdy either.
Seamless joins – invisible or a knit together ‘seam’?
This is one of the changes that often comes up in conversation about my patterns. Sometimes we can get to excited about making something totally seamless to the detriment of a garment’s structure. In addition to underarms I prefer to join shoulders together and necklines to bands / hoods / collars with a reasonably firm method. This means that although provisional cast ons and kitchener stitch give the most invisible I often prefer to avoid them in those cases. Joining live shoulder stitches with a three needle bind off or simply binding off and then seaming will help to prevent the shoulders from stretching out of shape — so important for a flattering fit! The same goes for the neckline, I prefer to cast on or bind off that edge with a firm but stretchy method and then pick up stitches for additional details rather than working them as a continuous piece.

Default techniques part 2?
Although this turned into a much lengthier discussion than I was originally intended it really only scratched the surface of this topic. Are there any things that leave you floundering when a pattern doesn’t specify which method to use?

Also in Journal


Ysolda’s size chart for knitwear designers
Inclusive size charts for sizes xxs to 7xl, created by a knitwear designer and featuring measurements that can be difficult to find. Newly updated with an extended size range with measurements for cup sizing and broad shoulders.
Read More


Deep Shadow Heel Tutorial
The Deep Shadow sock heel is a beginner friendly short row sock heel that provides a more anatomical fit like a heel flap and gusset.
Read More


20 Years of Ysolda Knitting Patterns: Part 2
June 2025 marks twenty years of designing knitting patterns for Ysolda. In this blog post she picks her favourite from each year for 2015 to 2025,
Read More
