Your Cart is Empty


Knitting a swatch serves several important functions in your knitting life. It’s the best way to ensure your knitting gauge matches the pattern gauge, so that your project comes out the correct size and shape. It’s also a great way to familiarise yourself with new stitch patterns and techniques before embarking on your project.
While it isn’t as necessary to match pattern gauge for items that don’t need to fit a particular body part (such as wraps and scarves), it is important to make sure you like the fabric that is created. The yarn may work up thinner or thicker than you thought, or maybe it has a texture or colour that could conflict with the stitch pattern. Swatching before beginning your project is insurance against unexpected surprises, and it shouldn’t be a chore - it’s more of a warm-up to your project!
Read on for our tutorial taking you step-by-step through the process of knitting a swatch. All images were styled and photographed by our friend and contributor Nidhi Kansal.

About 5-6” square (12-16cm) is a good size for a swatch to check your gauge. In practice, this is usually between 20-40 stitches.

If there is a stitch pattern with a defined repeat, cast on a number of stitches that will work for the repeat, plus a couple on each side for an edging.
Example: Pattern repeat of a multiple of 8 stitches + 5.
24 stitches would be 3 repeats, plus 5 more stitches is 29.
Add 2 stitches to each end for a total cast on number of 33 stitches.

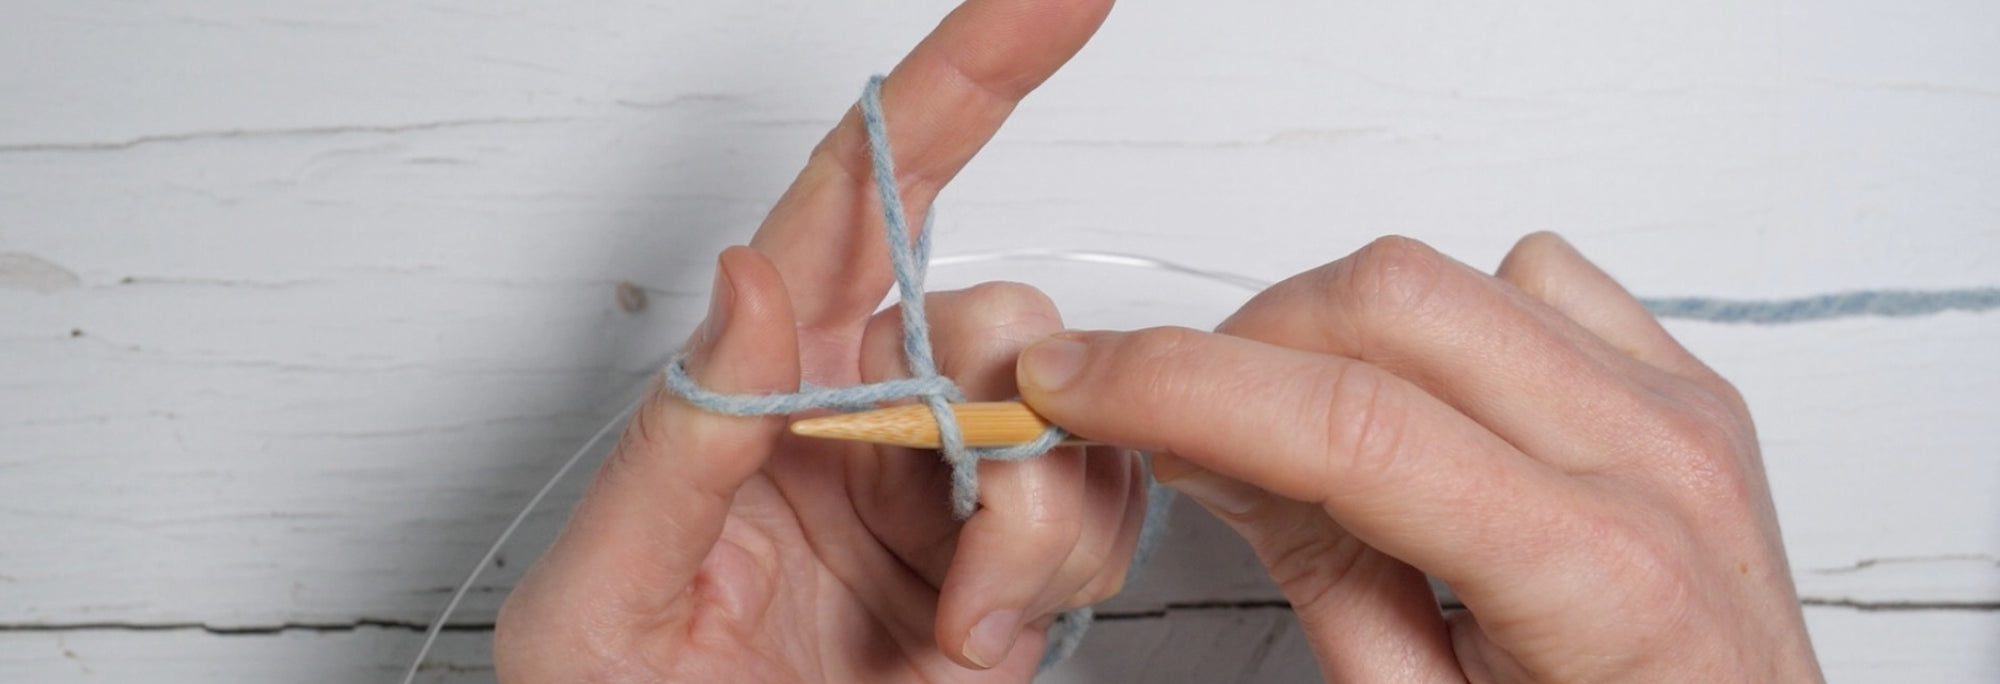
With your project yarn and needles, begin by casting on with your preferred method, or the method given in the pattern. If it’s a cast on method that you haven’t worked before, this is a great way to try it out and see if you like it.
Work a few rows of a flat stitch such as garter stitch, ribbing, or seed stitch (or the stitch used in the pattern) to anchor the bottom edge of the swatch, so it doesn’t curl up.
Then, keep working the first and last 2-3 stitches of every row in garter stitch, to prevent the sides from curling inward.

Work at least 4” (10cm) in stockinette stitch or the pattern stitch, following the pattern repeats if necessary.
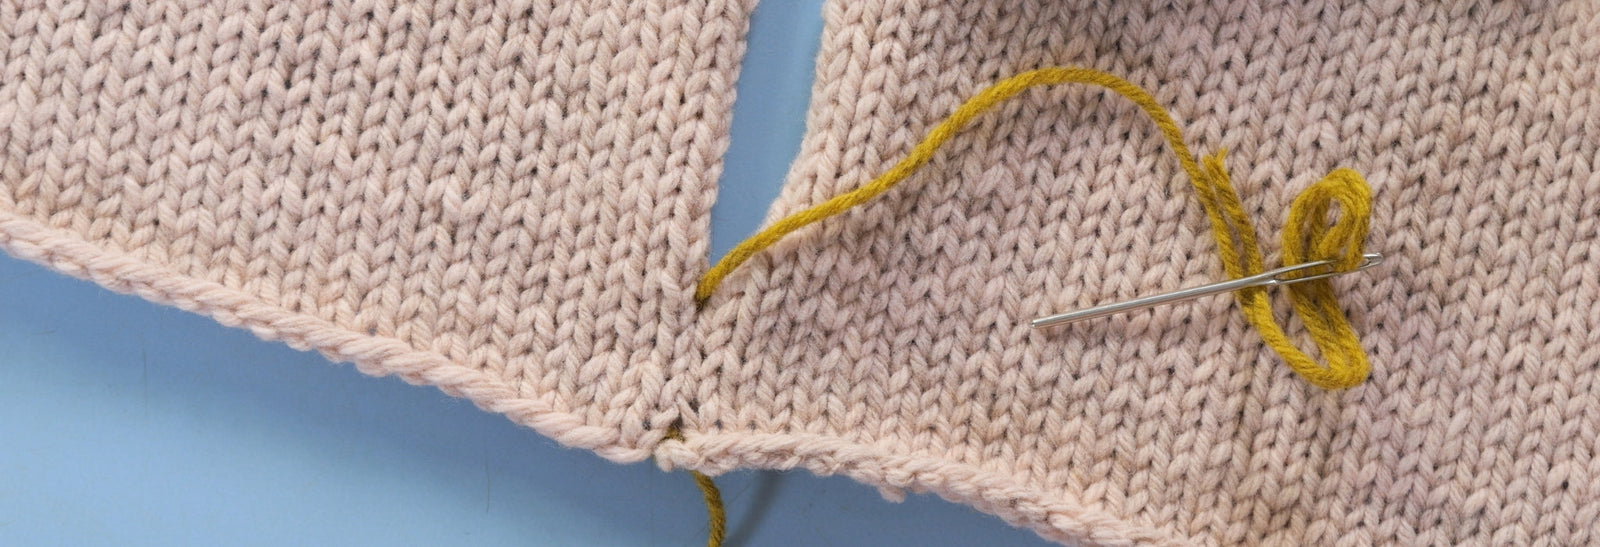
Then work a few more rows in garter stitch or ribbing and bind off. You don’t have to weave in your ends if you don’t want to! Take a photo and/or write down what needles you used so you don’t forget.


Always treat your swatch the way you will the finished piece. Some yarns change significantly after a relaxing bath.
If you plan to hand wash, soak the swatch in water with a little wool wash (link) for at least 10 minutes, then squeeze out the water and dry flat.
If you plan to machine wash, you can throw the swatch in with your laundry - just make sure it doesn’t go through the dryer!

For lace patterns, pinning out your swatch is probably a good idea. For more solid fabrics or sweaters, I suggest just smoothing the swatch a bit rather than pinning it, to prevent excess stretching.

Once your swatch is dry, you can take your gauge. In stockinette stitch, each stitch appears as a “V” on the right side of the fabric. A swatch measuring tool [https://ysolda.com/collections/sundries/products/swatch-measurement-tool] helps by narrowing the field that you’re looking at, helping you count straight across, and holding down the edges of the swatch. Or you can use a ruler or tape measure.

Count the number of V-shapes across one row, over 2 or 4 inches. To count rows, pick a column of stitches and count the vertical number of Vs in 2 or 4 inches.
To measure pattern repeats of more complex patterns, you may want to measure the full size of your swatch (inside the edge stitches) and divide by the number of pattern repeats you cast on.
Avoid the temptation to cast on just the number of stitches given in the gauge! Edge stitches distort and the gauge will be inaccurate. Your swatch should be large enough to take the gauge in the centre of the fabric.
Always swatch the stitch pattern(s) given in the pattern gauge. Cable patterns draw the fabric in tighter, while lace patterns create a looser fabric. Swatching in stockinette only might not give you enough information about how the yarn behaves.

Too tight
Try a larger needle and/or thinner yarn.
Too loose
Try a smaller needle and/or thicker yarn.
Stitch gauge is ok, but row gauge is off

Keep in mind that swatches are a lot smaller than a finished sweater or blanket, and the weight and construction of the yarn in a large project can also affect how the final product hangs. With a little practice and experience, you’ll be better able to tell how your swatch is working out, and how to make adjustments for a stress-free knitting experience.