


Kits


New! Celebrate this chapter of Ysolda.com as it comes to an end with a special, personalised bundle of our best products, hand-picked by our team just for you.


gift 2019


Subscribe to our Colourwork Club for a gift that lasts well into the new year. Your recipient will receive a new colourwork kit in Janurary, February and March
Last minute shopping? Gift cards are delivered electronically - forward the email or print it for your recipient. A range of amounts are available and gift cards don't expire.

How to work lifted increases
How to work lifted increases


Lifted increases, also known as raised increases, are created by picking up a loop from a previously created stitch in the row. Lifted increases are subtle and easy to work, making them a great choice for increasing invisibly. When working top down, such as for Glenmore and The Porty Hat, the stitches between the increases create a lovely defined line.
Scroll down for a video tutorial.
Right Lifted Increase (RLI)
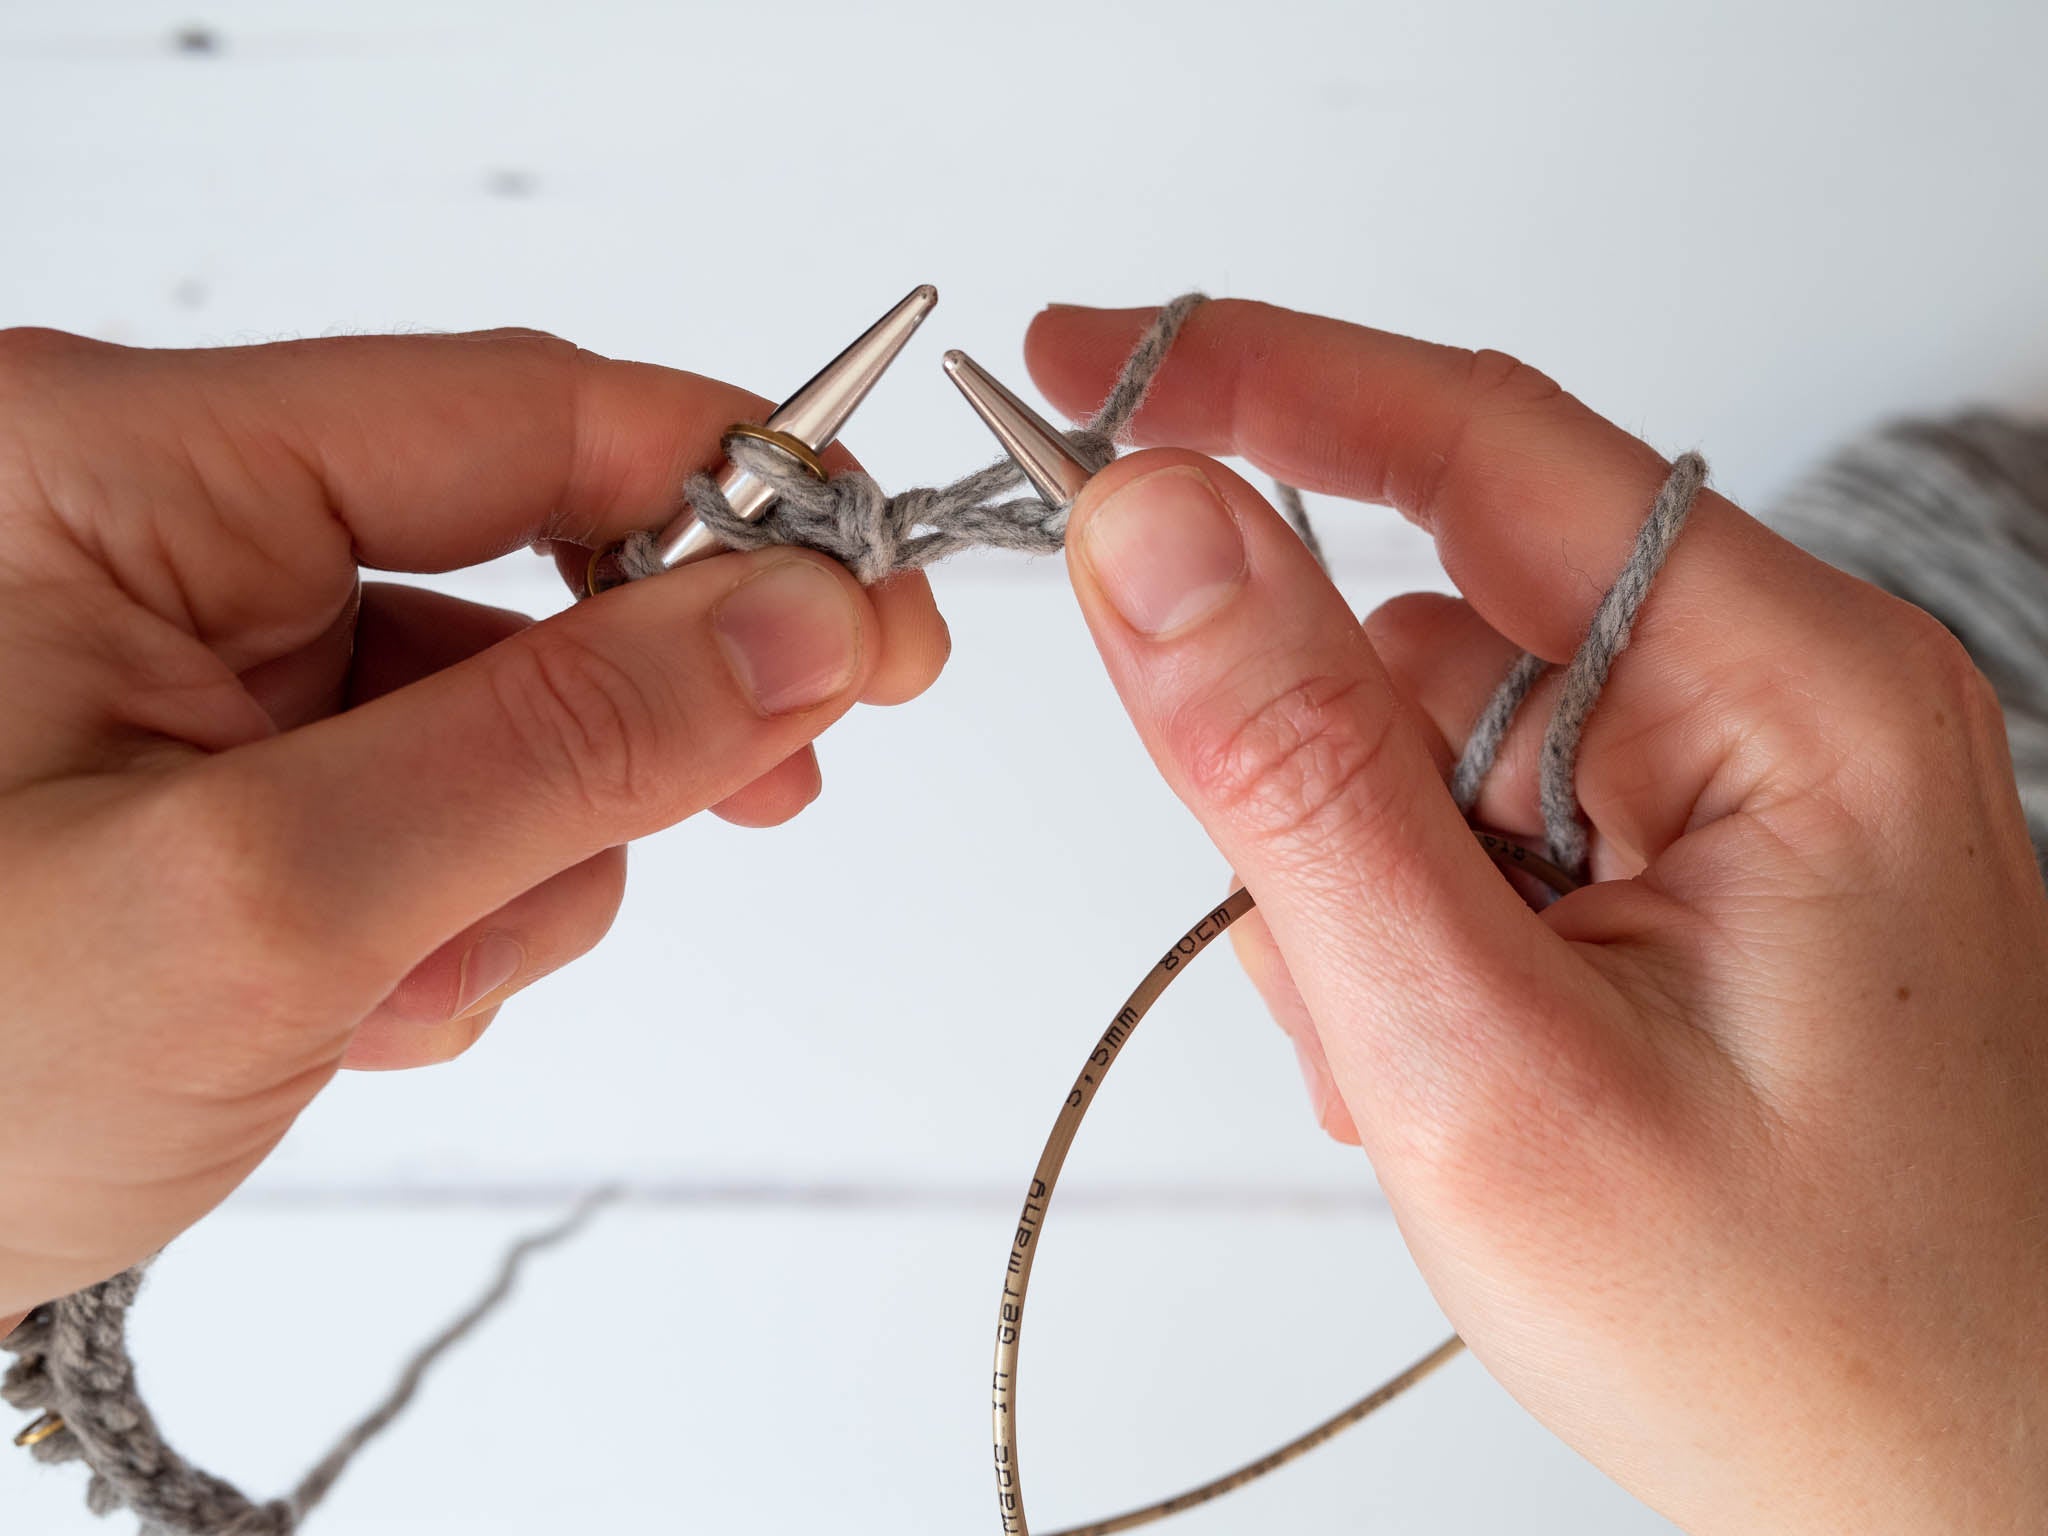
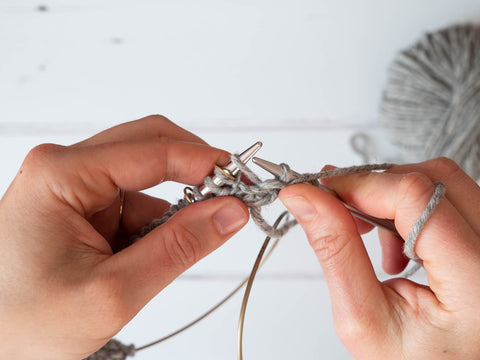
Work in pattern to the increase. You will be working the increase stitch into the right side of the next stitch, before working the stitch itself- this is a Right Lifted Increase (RLI).
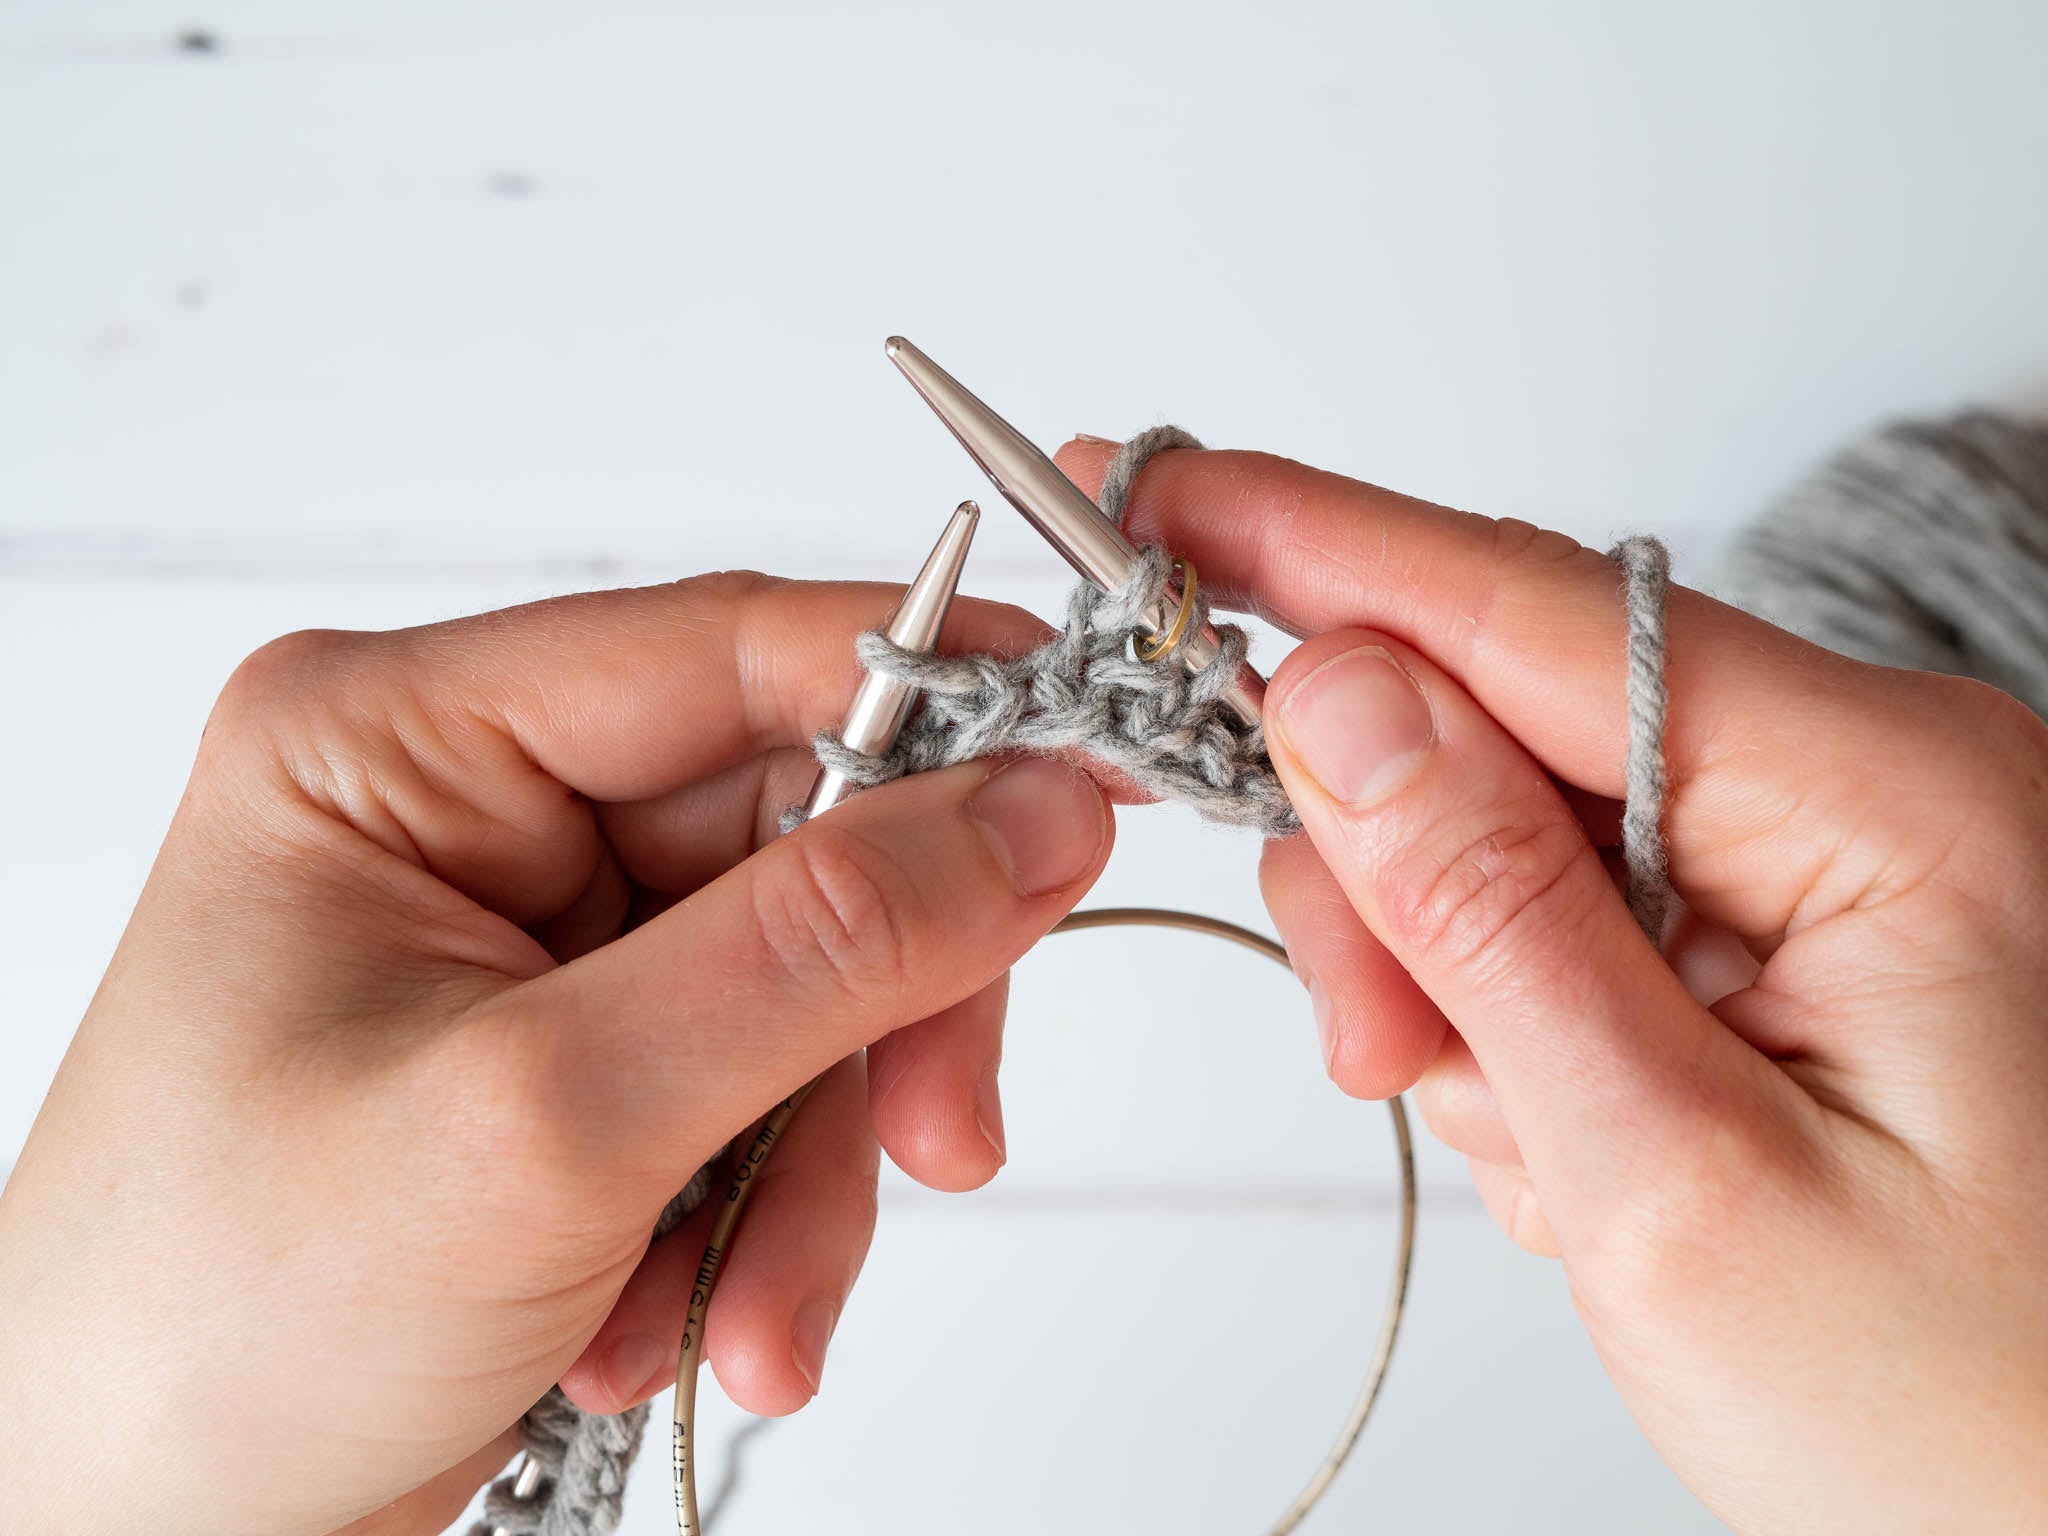
Insert the right needle tip into the right half of the stitch directly below the left needle.
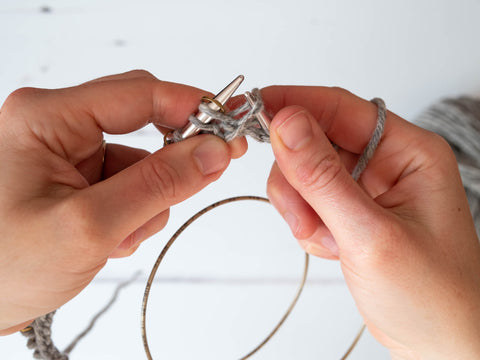
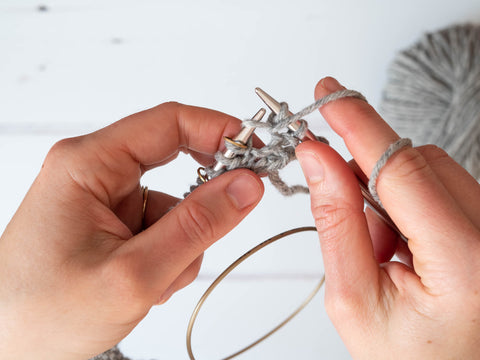
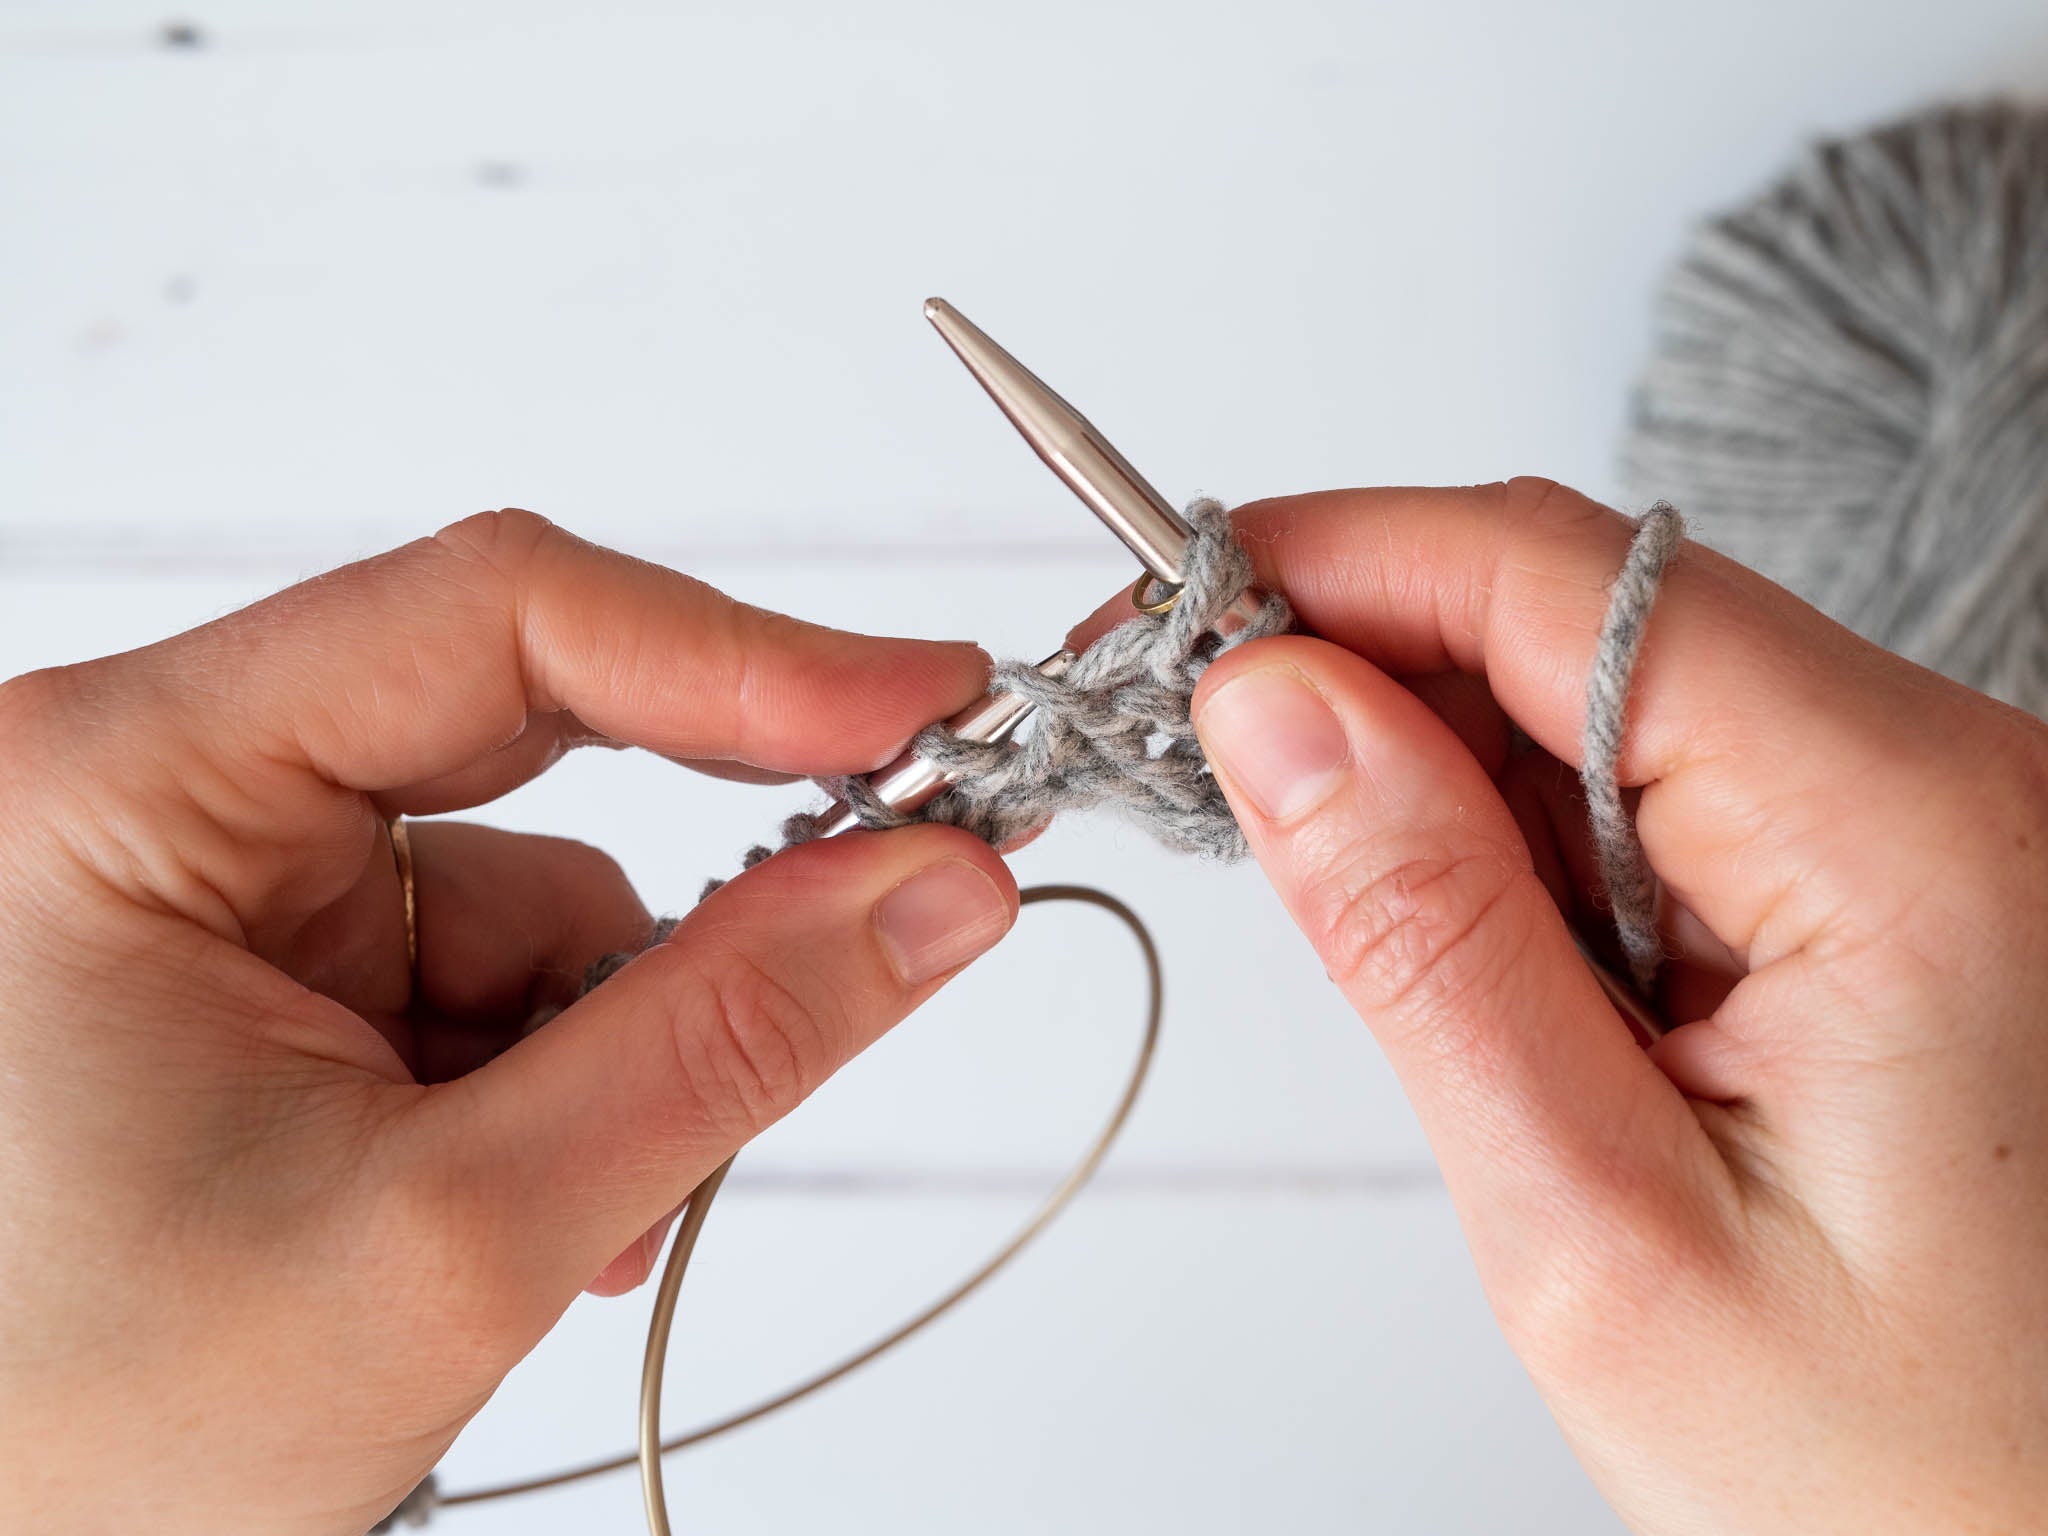
Open this stitch slightly and place this loop onto the left needle.
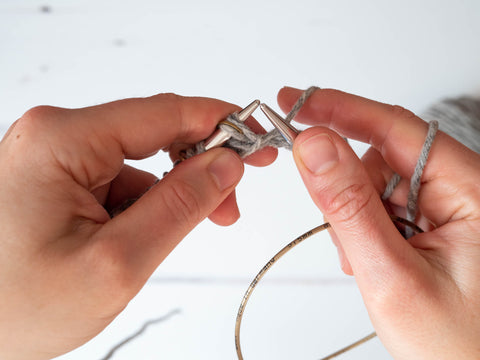
Knit into this stitch normally.

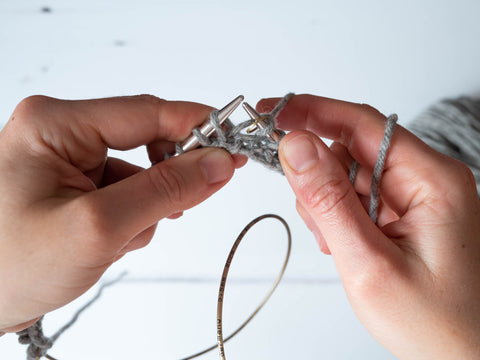
Increase complete.
Right Lifted Increase Purl (RLIP)

Purl to where you need to increase.
The increase will be worked into the purl bump directly below the left needle.
You can purl directly into the loop if you wish, or lift it onto the left needle with the leading edge on the right. Purl into this loop.
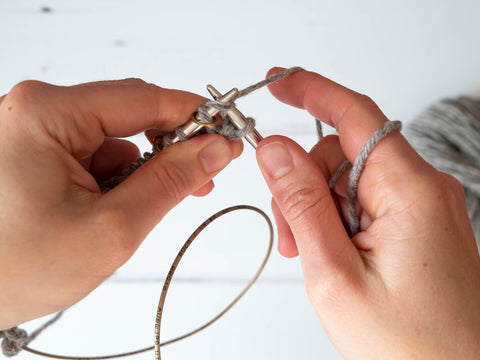
Left Lifted Increase (LLI)
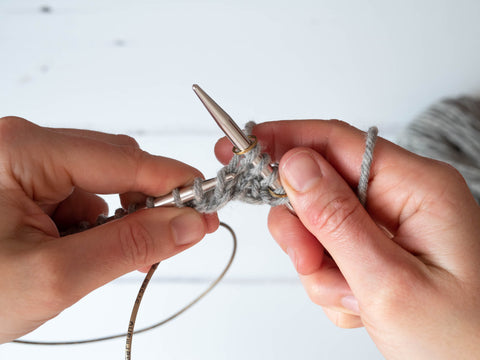
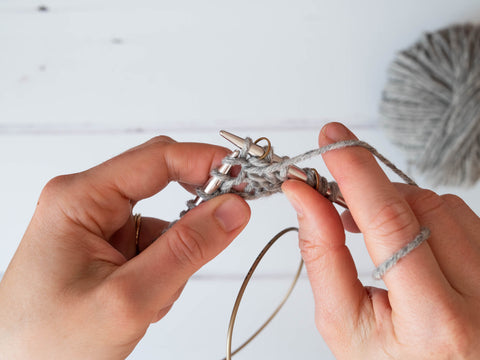
Using your fingers, open the stitch column slightly to identify the row two rows below the stitch on your right needle.
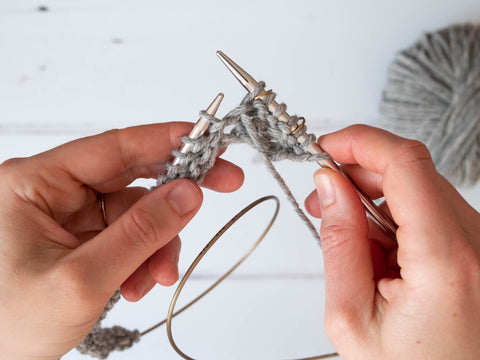
Insert the left needle tip into the purl bump below and behind the stitch just worked, and lift this strand onto the left needle.
Knit into this stitch.
Left Lifted Increase Purl (LLIP)
Purl to where you need to work the increase. The LLIP will be worked into the second purl bump down from the right needle.
Insert the left needle tip into the purl bump from below and lift it onto the needle.
Purl into this loop.
Lifted increases video tutorial
If video suits you better, here's a tutorial we made illustrating these increases. You may well find watching the video and then looking at the still photos works best for you.
With right and left lifted increases in your personal stitch dictionary, you can substitute lifted increases for m1s or other types of increases whenever you like!
Check out some of our patterns with lifted increases: Glenmore and Inverleith.
Also in Journal


Ysolda’s size chart for knitwear designers
Inclusive size charts for sizes xxs to 7xl, created by a knitwear designer and featuring measurements that can be difficult to find. Newly updated with an extended size range with measurements for cup sizing and broad shoulders.
Read More


Deep Shadow Heel Tutorial
The Deep Shadow sock heel is a beginner friendly short row sock heel that provides a more anatomical fit like a heel flap and gusset.
Read More


20 Years of Ysolda Knitting Patterns: Part 2
June 2025 marks twenty years of designing knitting patterns for Ysolda. In this blog post she picks her favourite from each year for 2015 to 2025,
Read More
