


Kits


New! Celebrate this chapter of Ysolda.com as it comes to an end with a special, personalised bundle of our best products, hand-picked by our team just for you.


gift 2019


Subscribe to our Colourwork Club for a gift that lasts well into the new year. Your recipient will receive a new colourwork kit in Janurary, February and March
Last minute shopping? Gift cards are delivered electronically - forward the email or print it for your recipient. A range of amounts are available and gift cards don't expire.


Deep Shadow Heel Tutorial
What is the Deep Shadow Sock Heel?
Jump to tutorial
While designing my Shadow Print Sock pattern I was looking for a heel that created a nice triangle shape in a contrast colour, but provided enough depth across the widest part of the heel and ankle much like a heel flap and gusset does.
Over a few months and around 40 different iterations of sock heels, I finally landed on what I have now named the Deep Shadow Heel. This heel is developed based on Alice Yu's shadow wrap sock heel, but unlike the shadow wrap heel it provides more room diagonally across the foot and heel.
The Deep Shadow Sock heel begins like most other short row heels, where you knit rows that gradually get shorter across half of your stitches. Each row is one stitch shorter than the previous one and you’re working a short row method at the end of each row so that when you work back across those stitches on the second half of the heel you won’t end up with holes.

However, the second half of the heel is where the Deep Shadow heel differs from a traditional short row heel. You will be working rows that get longer and mirroring the shape on the first half but you end up with 2 stitches for every one stitch that went into a turn at the beginning by slipping stitches, increasing and decreasing to make sure they’re woven together nicely so there are no gaps.
What you end up with is a roomier heel, and those extra stitches are gradually decreased down with a more traditional gusset as you work the rest of your sock until you get back down to your original stitch count.
Just like a traditional shadow wrap heel, there’s not a lot of counting involved, you just knit to 1 stitch before your last worked stitch and it’s very easy to substitute into basically any sock pattern you want to.
The Deep Shadow sock heel can be worked on multiple needle types; circulars with Magic Loop, small circumference circulars or DPNs - it’s very adaptable. Although its definitely easier to work with all of your heel stitches on one needle, and that is how this tutorial is done.
Deep Shadow Sock Heel Instructions
First Half of Heel
With all of your heel stitches on one needle, work as follows:
Row 1:
For a contrast heel: knit the first stitch on your needle in your main sock colour, and then knit across your heel stitches until there are 2 stitches left on the needle.
For a vanilla sock: knit across your heel stitches until there is 1 stitch left on the needle.
Then continue as follows: Work a RLI into the next stitch on your needle, slip new stitch back to left needle tip, turn. The 2 sts grouped together that are now on the right needle tip are a “twin stitch”.

Knit until there are 1 or 2 stitches left on needle.

Work a RLI - pick up the stitch directly below the 1st stitch on your left needle.

Place this stitch onto your left needle.

Knit into the picked up stitch.

Slip stitch back to left needle.

Twin stitch (RS).
Row 2 (WS): purl to 2 sts before EOR, RLIP, slip increased stitch back to left needle tip, turn.

Purl to two stitches before end of needle.

Work a RLIP - pick up the stitch directly below the 1st stitch on your left needle and place onto needle.

Purl into picked up stitch.

Slip stitch back to left needle.

Twin stitch (WS).
Row 3: knit to 1 st before twin stitch, RLI, slip increased stitch back to left needle tip, turn.
Row 4: purl to 1 st before twin stitch, RLIP, slip increased stitch back to left needle tip, turn.

1 stitch before twin stitch (RS)

1 stitch before twin stitch (WS)
Rep rows 3–4 until the number of sts remaining in the centre between the twin stitches is approximately ⅓ (one third) of your heel stitches.
E.g. if you had 32 heel stitches, you would have 11 twin sts on either and 10 sts left in the middle.
Second Half of the Heel
Row 1 (RS): knit to twin stitch, knit first stitch of pair, slip 2nd stitch purlwise wyib, LLI, slip increase and slipped stitch back to left needle tip, turn.

Knit to twin stitch.

Knit first stitch of pair.

Slip second stitch purlwise wyib.

Pick up the stitch below slipped stitch from the left side for LLI.

Knit into picked up stitch.

Slip both stitches back to left needle.
Row 2 (WS): purl to twin stitch, purl first stitch of pair, slip 2nd stitch purlwise wyif, LLIP, slip increase and slipped stitch back to left needle tip, turn.

Purl to twin stitch.

Purl first stitch of pair.

Slip second stitch purwise wyif.

Pick up the stitch below slipped stitch from the left side for LLIP.

Purl into picked up stitch.

Slip both stitches back to left needle.
Row 3: knit to twin stitch, ssk to join both stitches together, knit first stitch of the next twin stitch, slip 2nd stitch purlwise wyib, LLI, slip increase and slipped stitch back to left needle tip, turn.

Knit to newly created twin stitch. SSK to join both stitches together. Then repeat as for row 1 (RS) for next twin stitch.
Row 4 (WS): purl to twin stitch, p2tog to join both stitches together, purl first stitch of the next twin stitch, slip 2nd stitch purlwise wyif, LLIP, slip increase and slipped stitch back to left needle tip, turn.

Purl to newly created twin stitch. P2TOG to join both stitches together. Then repeat as for row 2 (WS) for next twin stitch.
Rep rows 3–4 until only one (newly created) twin stitch pair remains on each side. On last wrong side row leave increased stitch (and accompanying slipped stitch) on right needle tip before turning work.
Next row (RS):
For a contrast heel: drop CC and pick up MC, bringing it up from under the CC tail; k2tog to join both stitches of first twin stitch together, knit to twin stitch on other side of heel, ssk to join both stitches together, k to EOR.
For a vanilla sock: k2tog to join both stitches of first twin stitch together, knit to twin stitch on other side of heel, ssk to join both stitches together, k to EOR.
Gusset
Rearrange stitches on the needles so that the stitches for the heel plus 1 stitch on each side will be designated for the sole. (1 st in main colour on contrast heels)
Next rnd - dec rnd: ssk, k to 2 sts before end of heel sts, k2tog knit across instep to EOR. 2 sts dec’d.
Next rnd: knit.
Repeat last 2 ends until all extra sts are worked and you are back to the same amount of sts you started with.

Also in Journal


20 Years of Ysolda Knitting Patterns: Part 2
June 2025 marks twenty years of designing knitting patterns for Ysolda. In this blog post she picks her favourite from each year for 2015 to 2025,
Read More


20 Years of Ysolda Knitting Patterns: Part 1
June 2025 marks twenty years of designing knitting patterns for Ysolda. In this blog post she picks her favourite from each year for 2005 to 2014.
Read More
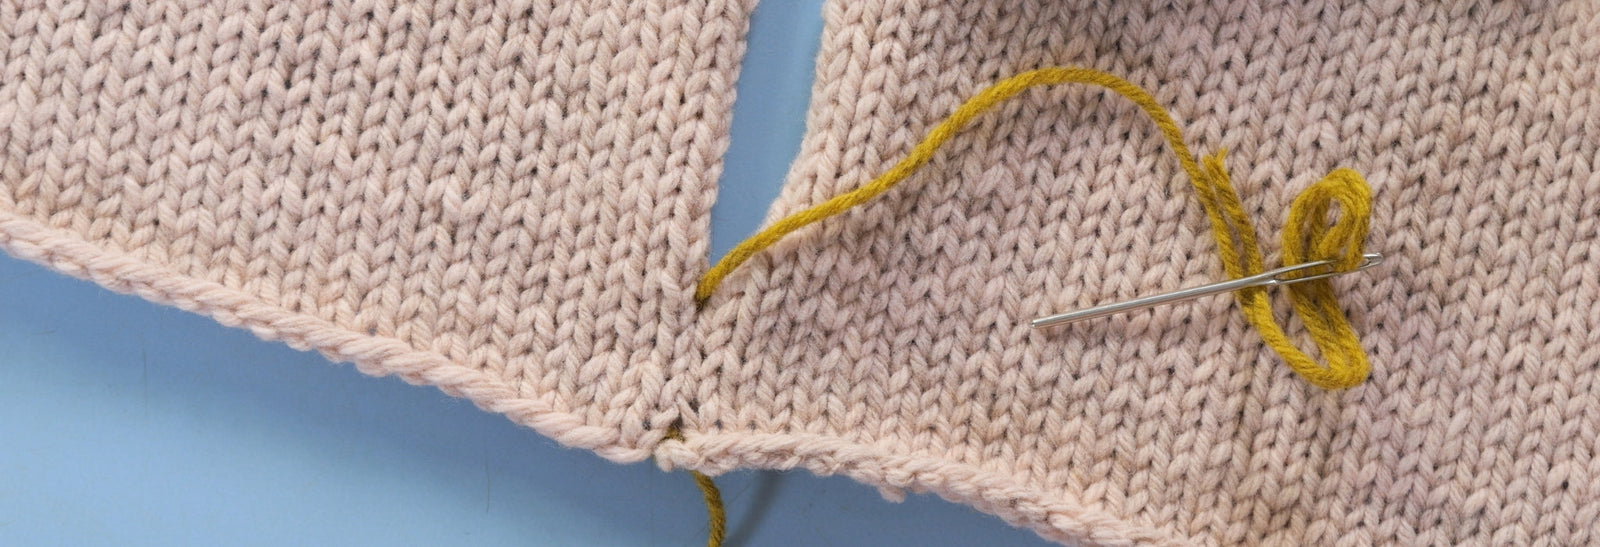

Learn to Knit: Mattress Stitch
By following our step-by-step mattress stitch knitting tutorial, you'll learn how to make your seams look beautiful and how best to prepare your knitting so that when you seam it with mattress stitch, it goes smoothly on the first try.
Read More
